


Photoluminescent film is often promoted as glowing for 2, 6, 8 or even 10 hours. However, “glow duration” by itself is not a reliable technical specification.
Professional buyers should evaluate photoluminescent film by its measured luminance, expressed in millicandelas per square metre (mcd/m²), at defined times after the charging light has been removed.
The three most commonly discussed test points are:
10-minute luminance, which indicates early afterglow brightness
60-minute luminance, which measures sustained emergency visibility
90-minute luminance, which evaluates longer-term light retention and is included in ASTM E2073 reporting
A value is meaningful only when the test standard, charging light, illuminance, charging time, sample condition and measurement method are also stated.
At ABLAZE, a brand of Changzhou Zhenghe New Material Technology Co., Ltd., we recommend comparing verified test values rather than relying only on statements such as “glows all night” or “10-hour afterglow.”
Quick Answer: What Do 10, 60 and 90-Minute Luminance Values Mean?
The 10-minute value shows how bright photoluminescent film remains shortly after the surrounding light has been removed.
The 60-minute value shows whether the material can maintain useful afterglow during a longer power failure or evacuation period. It is also a key value used in DIN and ISO photoluminescent classifications.
The 90-minute value evaluates extended afterglow retention. It is recorded under ASTM E2073 and may be required by certain building codes, egress-path specifications or project standards.
A higher number means higher measured luminance at that specific time. However, two numbers should only be compared when both products were tested under the same conditions.
What Is Photoluminescent Film Luminance?
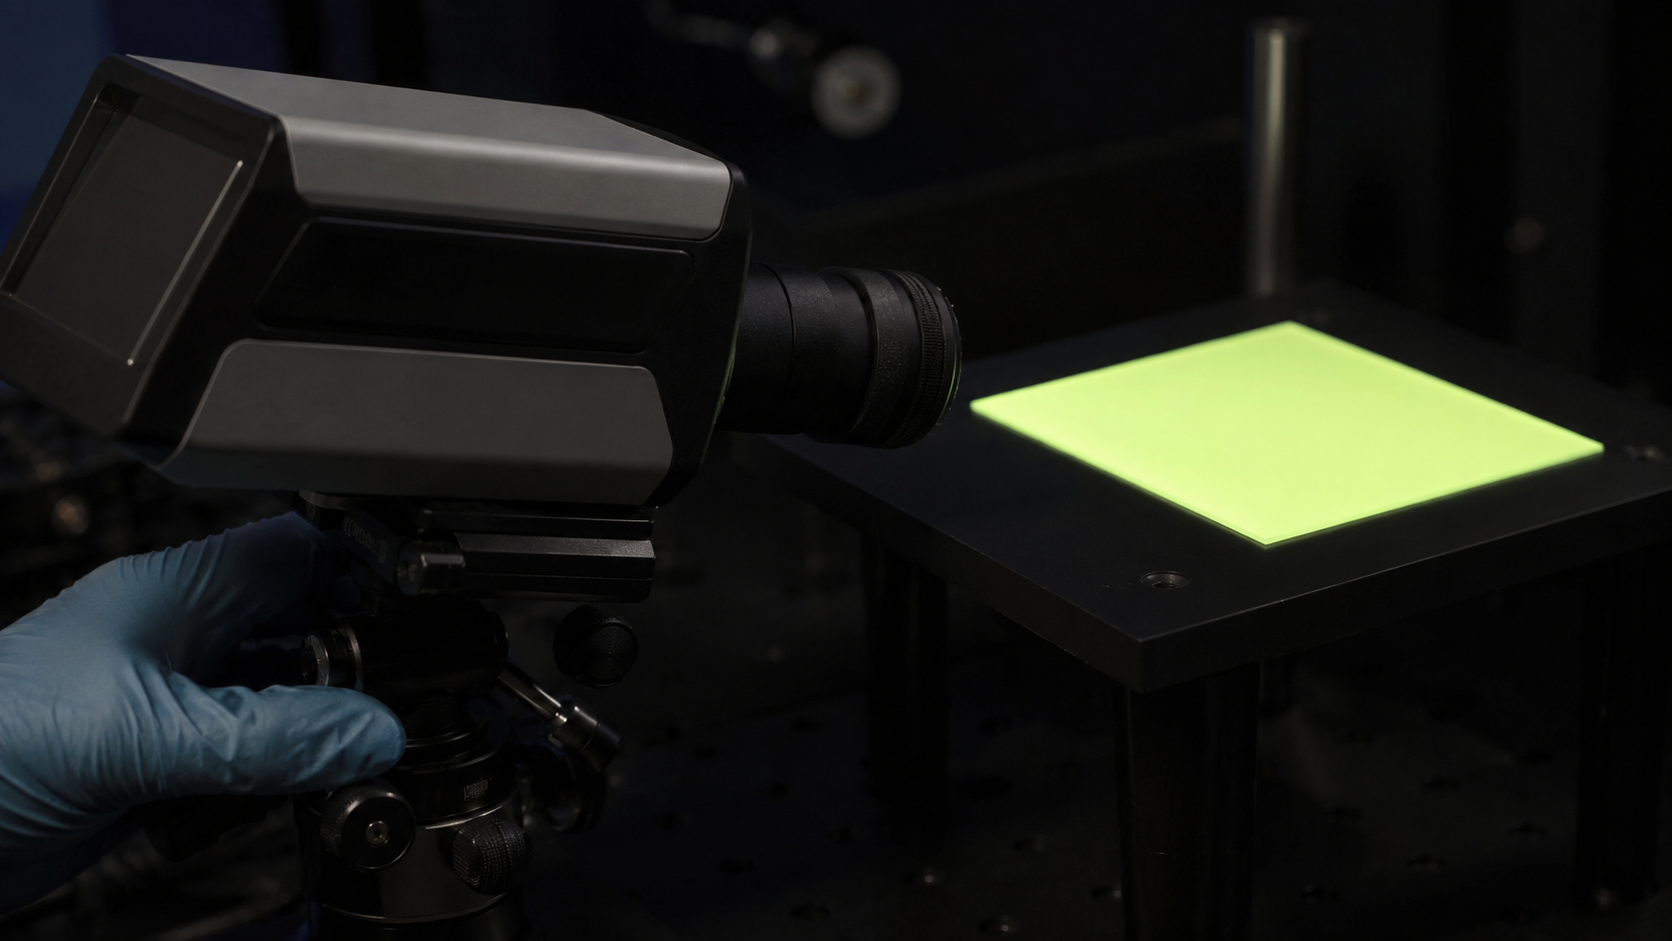
Photoluminescent film absorbs energy from daylight or artificial light and gradually releases that stored energy as visible light after the environment becomes dark.
The brightness emitted from the surface is called luminance.
Photoluminescent luminance is normally expressed in:
mcd/m² — millicandelas per square metre
The conversion is:
1 cd/m² = 1,000 mcd/m²
For example:
100 mcd/m² = 0.1 cd/m²
Luminance should not be confused with illuminance.
Luminance measures light emitted from or seen on a surface.
Illuminance, measured in lux, describes the amount of charging light reaching the surface.
Retroreflectivity describes how effectively reflective sheeting returns external light toward its source.
Photoluminescent film and reflective film therefore work differently. Reflective sheeting needs an external light source, such as vehicle headlights or a flashlight. Photoluminescent material stores light and continues emitting a visible glow after the light source disappears.
Why “Glows for 8 Hours” Is Not a Reliable Specification
Photoluminescent film does not remain at one brightness level for eight hours and then suddenly switch off.
Its luminance follows a decay curve:
The film is brightest immediately after excitation stops.
Luminance decreases rapidly during the early part of the decay.
The rate of decline becomes slower over time.
Eventually, the remaining light falls below a defined measurement or visibility threshold.
A supplier might describe the film as glowing for eight hours because a faint glow can still be seen in a completely dark room after the human eye has adapted.
Another supplier may define the end of afterglow as the point at which luminance falls to a specified value measured with an instrument.
Those two “eight-hour” claims are not equivalent.
For a technically useful specification, ask for:
Luminance at defined time intervals
Unit of measurement in mcd/m²
Test standard and edition
Charging light source
Charging illuminance in lux
Charging duration
Whether the numbers are typical or guaranteed minimum values
A laboratory test report or batch test record
10 vs. 60 vs. 90-Minute Photoluminescent Test Values
What Does the 10-Minute Luminance Value Show?
The 10-minute value represents early-stage afterglow performance.
It helps answer the question:
How bright will the material remain during the first part of a blackout or emergency?
A strong 10-minute value can improve the immediate visibility of:
Emergency exit signs
Directional arrows
Fire equipment signs
Stairway markings
Door-frame markings
Hazard identification labels
Evacuation maps
However, a high 10-minute result does not automatically guarantee strong long-term performance.
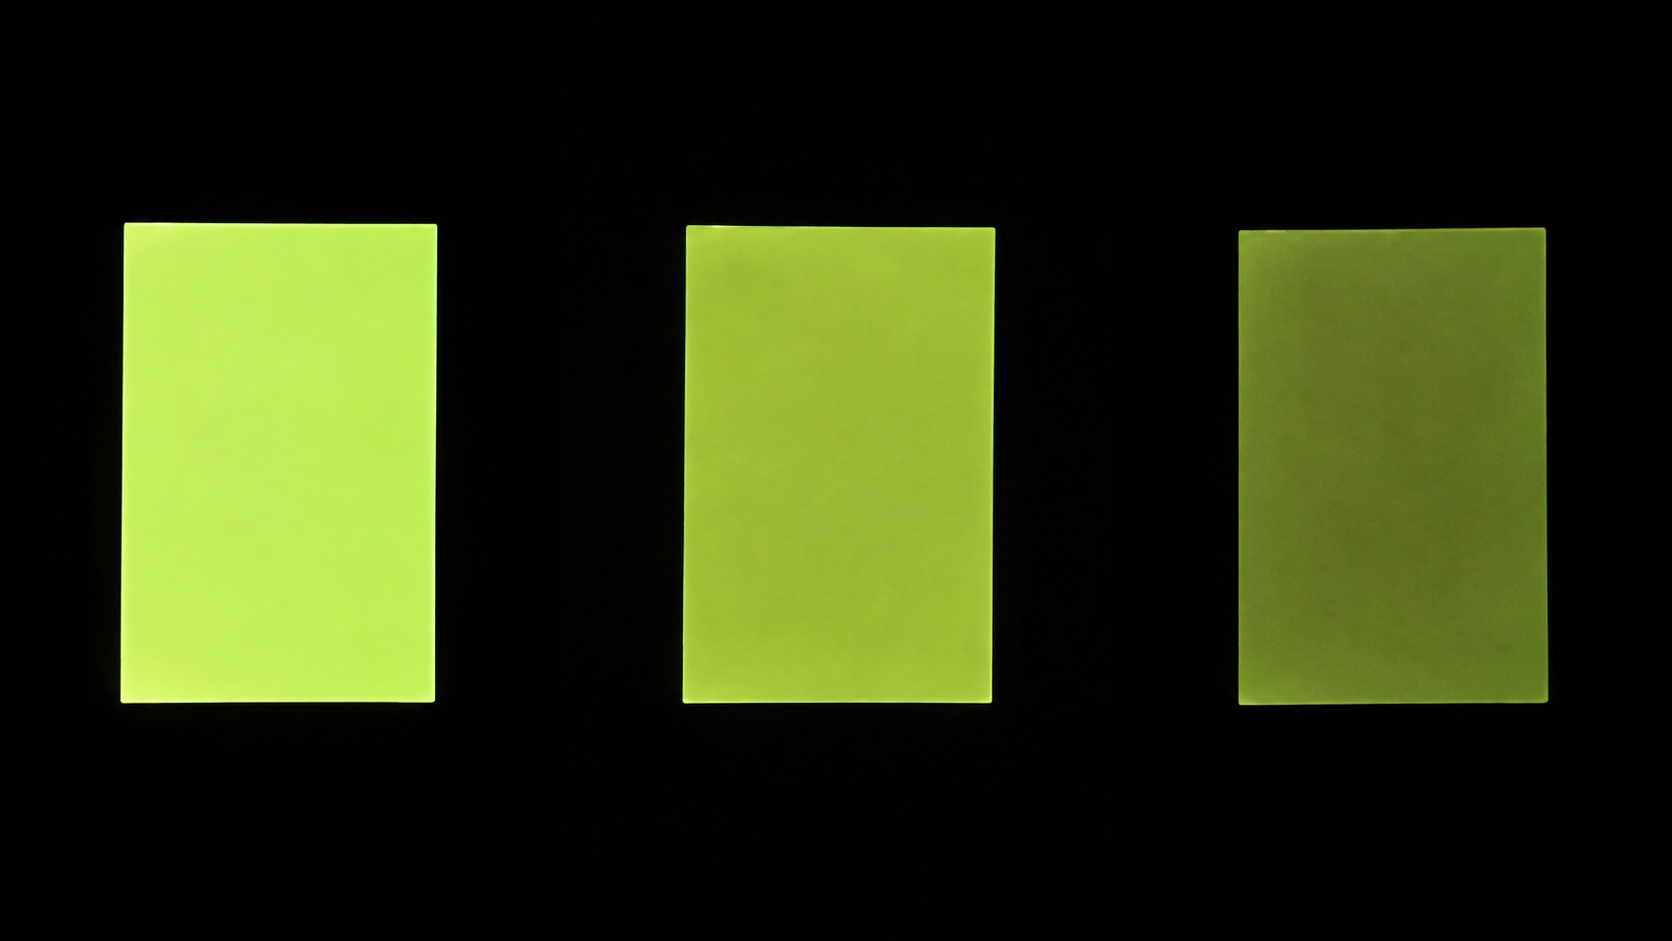
One material may produce very high initial brightness but decay relatively quickly. Another may start at a lower level but retain more luminance after 60 or 90 minutes.
What Does the 60-Minute Luminance Value Show?
The 60-minute value measures sustained afterglow performance.
It is particularly useful for evaluating whether the material can remain visible during:
Extended power failures
Large-building evacuations
Underground facility incidents
Industrial emergencies
Complex or delayed evacuations
Situations where occupants cannot immediately reach an exit
The 60-minute value is also important because ISO 17398 and DIN-based classifications commonly use the 10- and 60-minute results to describe photoluminescent performance.
For many professional safety applications, buyers should compare both 10- and 60-minute values rather than selecting a film based only on its initial brightness.
What Does the 90-Minute Luminance Value Show?
The 90-minute value measures longer-term afterglow retention.
ASTM E2073 includes luminance measurements at 10, 60 and 90 minutes. The 90-minute result may also be referenced in North American building, stairway, egress-path or project-specific requirements.
The 90-minute value is not included in the ISO 17398 A–D classification table. It should therefore be treated as an additional performance point unless the applicable project specification establishes a particular 90-minute minimum.
This distinction is important:
ASTM E2073 explains how luminance is measured.
A product specification, building code or project document establishes the required minimum value.
Passing one ISO class does not automatically prove compliance with every ASTM-based project.
A DIN test report cannot be directly converted into an ASTM result unless the activation and measurement conditions are equivalent.
What Is a Good Luminance Value for Photoluminescent Film?
There is no single luminance number that is “good” for every application.
The correct requirement depends on:
Country and local regulations
Type of building or facility
Sign location
Evacuation time
Available charging light
Installation height
Viewing distance
Film width and graphic size
Indoor or outdoor use
Whether the material is used for decoration or life-safety guidance
Required testing and certification
A decorative glow label may not need the same performance as a stairway egress marking in a high-rise building.
Similarly, a film that performs well after being charged at 1,000 lux may produce less afterglow in a corridor that receives only low-level artificial lighting.
The applicable standard and the actual installation conditions should therefore be identified before choosing a photoluminescent grade.
ISO 17398 Photoluminescent Luminance Classes A–D
ISO 17398 provides a widely recognized classification system for phosphorescent safety signs.
The following table shows the minimum luminance values for Classes A–D.
ISO 17398 class | 2 minutes (mcd/m²) | 10 minutes (mcd/m²) | 30 minutes (mcd/m²) | 60 minutes (mcd/m²) |
|---|---|---|---|---|
Class A | 108 | 23 | 7 | 3 |
Class B | 210 | 50 | 15 | 7 |
Class C | 690 | 140 | 45 | 20 |
Class D | 1,100 | 260 | 85 | 35 |
The table should be interpreted as minimum values, not target averages.
For example, a product described as Class C should meet all applicable Class C values under the required test procedure. Exceeding only the 10-minute value does not prove that the complete Class C decay requirement has been met.
Buyers should request the complete test report rather than relying on a product name such as “high luminance,” “super bright” or “Class C equivalent.”
The exact class required must be determined from the applicable regulation, project specification or safety-system design. A higher class is not automatically necessary for every application, but selecting a class below the project requirement can create a compliance and safety risk.
DIN 67510 vs. ISO 17398 vs. ASTM E2073
Different standards may use different charging and reporting methods. Their results should not be mixed in one comparison table without identifying the test conditions.
Standard | Main role | Common reporting points | Important purchasing note |
|---|---|---|---|
DIN 67510-1 | Measurement of phosphorescent materials and products | Commonly reported at 10 and 60 minutes, together with decay information | Confirm charging source, illuminance and duration |
ISO 17398 | Classification, performance and durability of safety signs | 2, 10, 30 and 60 minutes | Uses Classes A–D; 90 minutes is not part of the class table |
ASTM E2073 | Test method for photopic luminance of photoluminescent markings | 10, 60 and 90 minutes | It is a measurement method, not a universal product grade |
ASTM E2072 | Performance specification for photoluminescent safety markings | Values depend on the adopted edition and application requirements | Verify the exact edition and local code cited by the project |
The safest purchasing approach is to place the standard name, edition, activation conditions and required minimum values directly on the inquiry, quotation and purchase order.
Do not write only:
“Photoluminescent film must meet ASTM.”
Instead, specify:
“Test according to the required edition of ASTM E2073, with luminance results reported at 10, 60 and 90 minutes, and meet the minimum performance requirements stated in the project specification.”
Why Photoluminescent Test Results Cannot Always Be Compared
Two suppliers may both publish a 10-minute value of 150 mcd/m² while using completely different test conditions.
The results may look identical on a data sheet but represent different levels of performance.
1. Charging Light Source
Photoluminescent pigments do not absorb all wavelengths equally.
Test sources may include:
D65 simulated daylight
Xenon lamps
Cool-white fluorescent lamps
LED lamps
Other artificial light sources
A material may charge more efficiently under one spectral distribution than another.
2. Charging Illuminance
Charging illuminance describes how much light reaches the sample and is measured in lux.
A sample activated at 1,000 lux should not be directly compared with one activated at 10.8 lux unless the selected standard specifically provides a conversion or comparison method.
Higher charging illuminance can produce stronger initial afterglow, especially when the film has not reached its effective saturation level.
3. Charging Duration
Common activation periods include:
5 minutes
10 minutes
20 minutes
60 minutes
120 minutes
A sample charged for 120 minutes may produce a different decay curve from a sample charged for only five minutes.
4. Dark Preconditioning
Before formal testing, samples are normally kept in darkness until residual luminance falls below the limit required by the test method.
If the material still contains energy from previous light exposure, the next test result may be artificially high.
5. Temperature and Humidity
The test environment should be controlled and recorded. Temperature can influence the material, test equipment and measurement repeatability.
6. Instrument and Measurement Geometry
A calibrated luminance meter should be used.
The report should identify:
Instrument model
Calibration status
Measurement distance
Measurement aperture
Sample size
Test geometry
Dark-room conditions
A smartphone camera or handheld lux meter is not a substitute for a calibrated luminance measurement system.
7. Raw Film vs. Finished Sign
A test on unprinted photoluminescent film does not automatically represent the finished sign.
Printing, lamination, clear coatings, adhesives, protective layers, contamination and installation conditions may change the amount of light the product can absorb and emit.
For regulated applications, test the finished construction required by the project.
8. Typical vs. Minimum Values
A “typical” value describes a representative result.
A “minimum” value is the lowest value the supplier agrees the product should achieve under the stated test conditions.
For procurement and compliance, guaranteed minimum data is generally more useful than a single high laboratory result.
How Photoluminescent Film Luminance Is Tested
A professional test procedure should include the following steps.
Step 1: Identify the Applicable Standard
Confirm:
Standard name
Standard edition
Required test points
Activation method
Minimum performance values
Additional local code requirements
The standard should be selected before the sample is tested.
Step 2: Prepare Representative Samples
Use samples from the actual production construction.
Record:
Product model
Batch number
Film material
Thickness
Color
Adhesive construction
Liner
Printing or lamination
Sample dimensions
Testing an unidentified sample prevents reliable batch traceability.
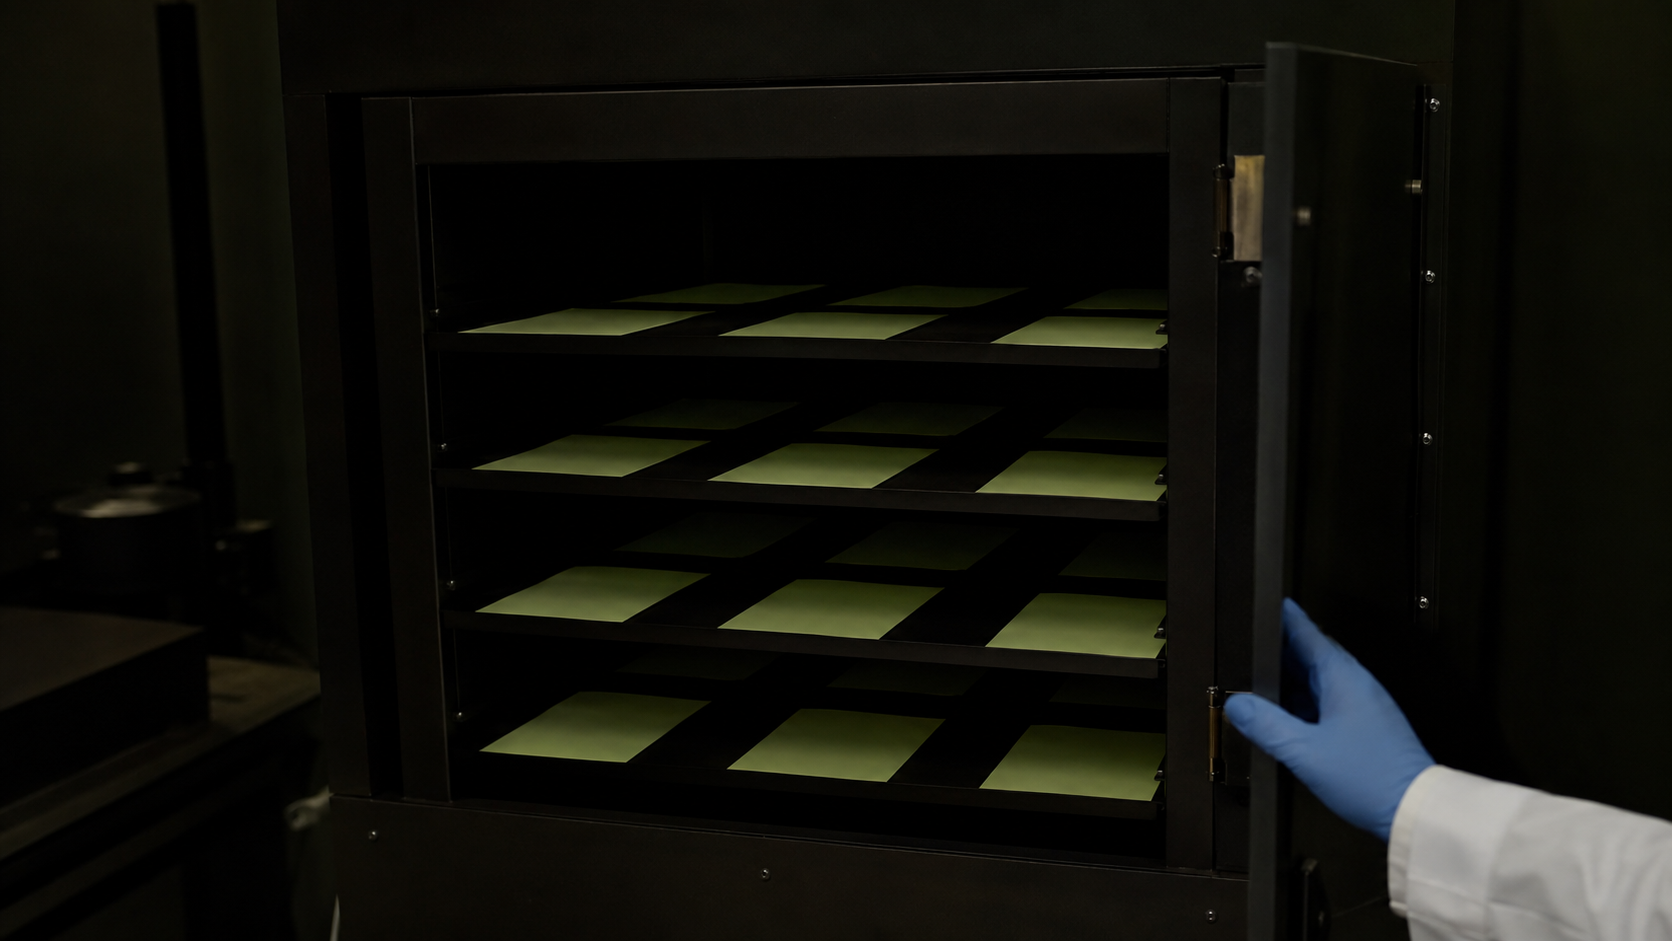
Step 3: Dark-Condition the Samples
Store the samples in darkness until their residual luminance falls within the limit specified by the test method.
No uncontrolled light should reach the samples during this process.
Step 4: Activate the Film
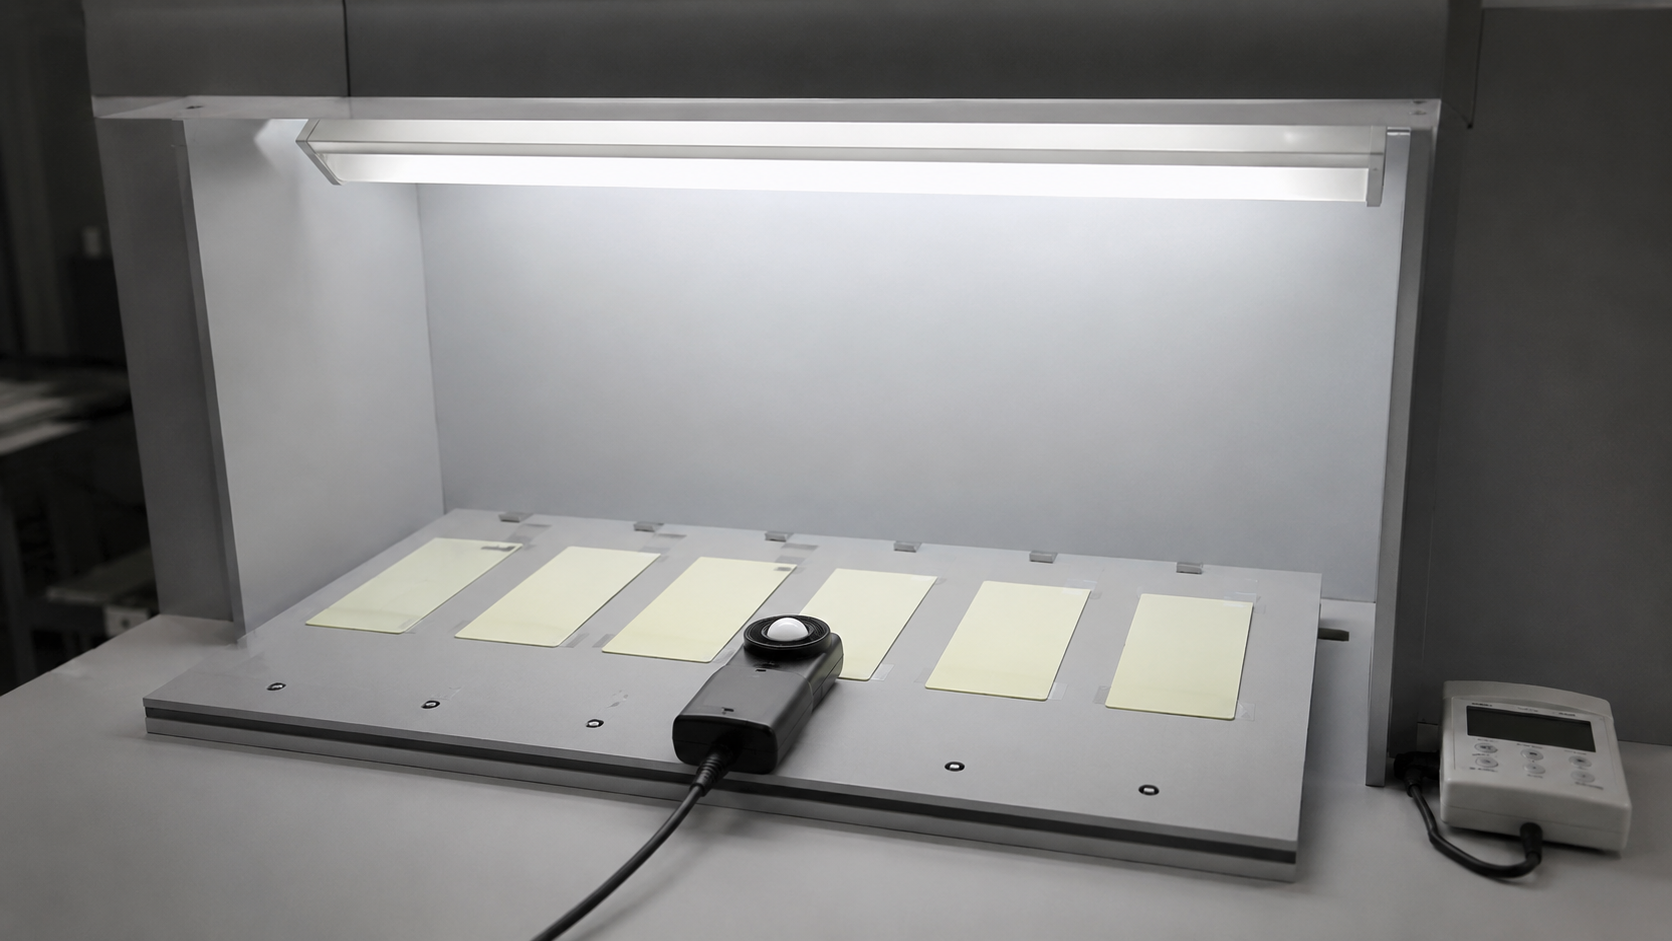
Expose the samples to the specified charging source.
Record:
Lamp type
Spectral or color-temperature information
Illuminance at the sample surface
Charging duration
Distance between lamp and sample
Sample orientation
The illuminance should be measured at the film surface rather than estimated from the lamp’s nominal output.
Step 5: Remove the Charging Light and Start the Timer
The decay period begins when activation stops.
Timing must be controlled accurately because photoluminescent luminance changes quickly during the early part of the decay curve.
Step 6: Measure Luminance
Use a calibrated luminance meter to measure the sample at the required times.
Depending on the test method, these may include:
2 minutes
10 minutes
30 minutes
60 minutes
90 minutes
Additional decay points
Step 7: Record Individual Results
The report should list the result for each test specimen rather than reporting only the highest measurement.
Where multiple samples are tested, include:
Individual values
Average value
Minimum value
Any rejected measurement
Reason for rejection
Measurement uncertainty where applicable
Step 8: Retain Samples and Test Records
For bulk orders and long-term projects, retain reference samples and connect the test report to the production batch.
This makes it easier to investigate future questions about:
Batch consistency
Storage
Printing performance
Adhesive performance
Aging
Installation conditions
How to Read and Compare a Supplier’s Luminance Data
Use the following order when reviewing a data sheet.
First: Check the Test Conditions
Do not begin by comparing the largest number.
First verify whether both suppliers used the same:
Standard
Standard edition
Charging source
Charging illuminance
Charging time
Decay time
Unit
Sample construction
Second: Compare the Full Decay Profile
A single 10-minute value does not describe the complete performance.
Consider the following illustrative example:
Test point | Film A | Film B |
|---|---|---|
10 minutes | 260 mcd/m² | 200 mcd/m² |
60 minutes | 35 mcd/m² | 40 mcd/m² |
90 minutes | Not reported | 22 mcd/m² |
Film A has higher early brightness.
Film B has stronger retention at 60 minutes and provides a 90-minute result.
It would be incorrect to declare Film A better based only on its 10-minute number.
These figures are for explanation only and are not ABLAZE product specifications.
Third: Determine Whether the Values Are Typical or Guaranteed
Ask the supplier:
Are these minimum values?
Are they average production values?
Do they come from one sample or multiple specimens?
Are they from an internal laboratory or a third-party laboratory?
Are production batches checked against the same criteria?
Can the result be linked to the supplied batch?
Fourth: Compare the Result with the Project Requirement
The highest available grade is not always the correct commercial choice.
The right product is the one that:
Meets the applicable safety requirement
Can be charged by the available lighting
Fits the required service environment
Supports the intended printing and converting process
Provides an appropriate cost-to-performance ratio
How to Select Photoluminescent Film by Application
Application | Main luminance consideration | Additional checks |
|---|---|---|
Decorative glow labels | Visible early afterglow under expected lighting | Cutting, color, adhesive and printability |
Standard indoor safety signs | Required 10- and 60-minute values | Local sign standard, graphic design and substrate |
Exit and evacuation routes | Sustained performance throughout expected evacuation time | Finished-system test, viewing distance and installation height |
Stairway and floor markings | 60- or 90-minute performance as required | Abrasion, slip resistance, cleaning and edge adhesion |
Industrial hazard identification | Visibility under realistic facility lighting | Chemicals, dust, heat, surface preparation and maintenance |
Tunnels and underground facilities | Strong sustained afterglow | Charging-light audit, smoke conditions and system design |
Marine or transportation projects | Values required by the relevant approval | Fire performance, durability and certification |
Outdoor safety marking | Luminance plus environmental durability | UV, rain, temperature cycling, water and protective layers |
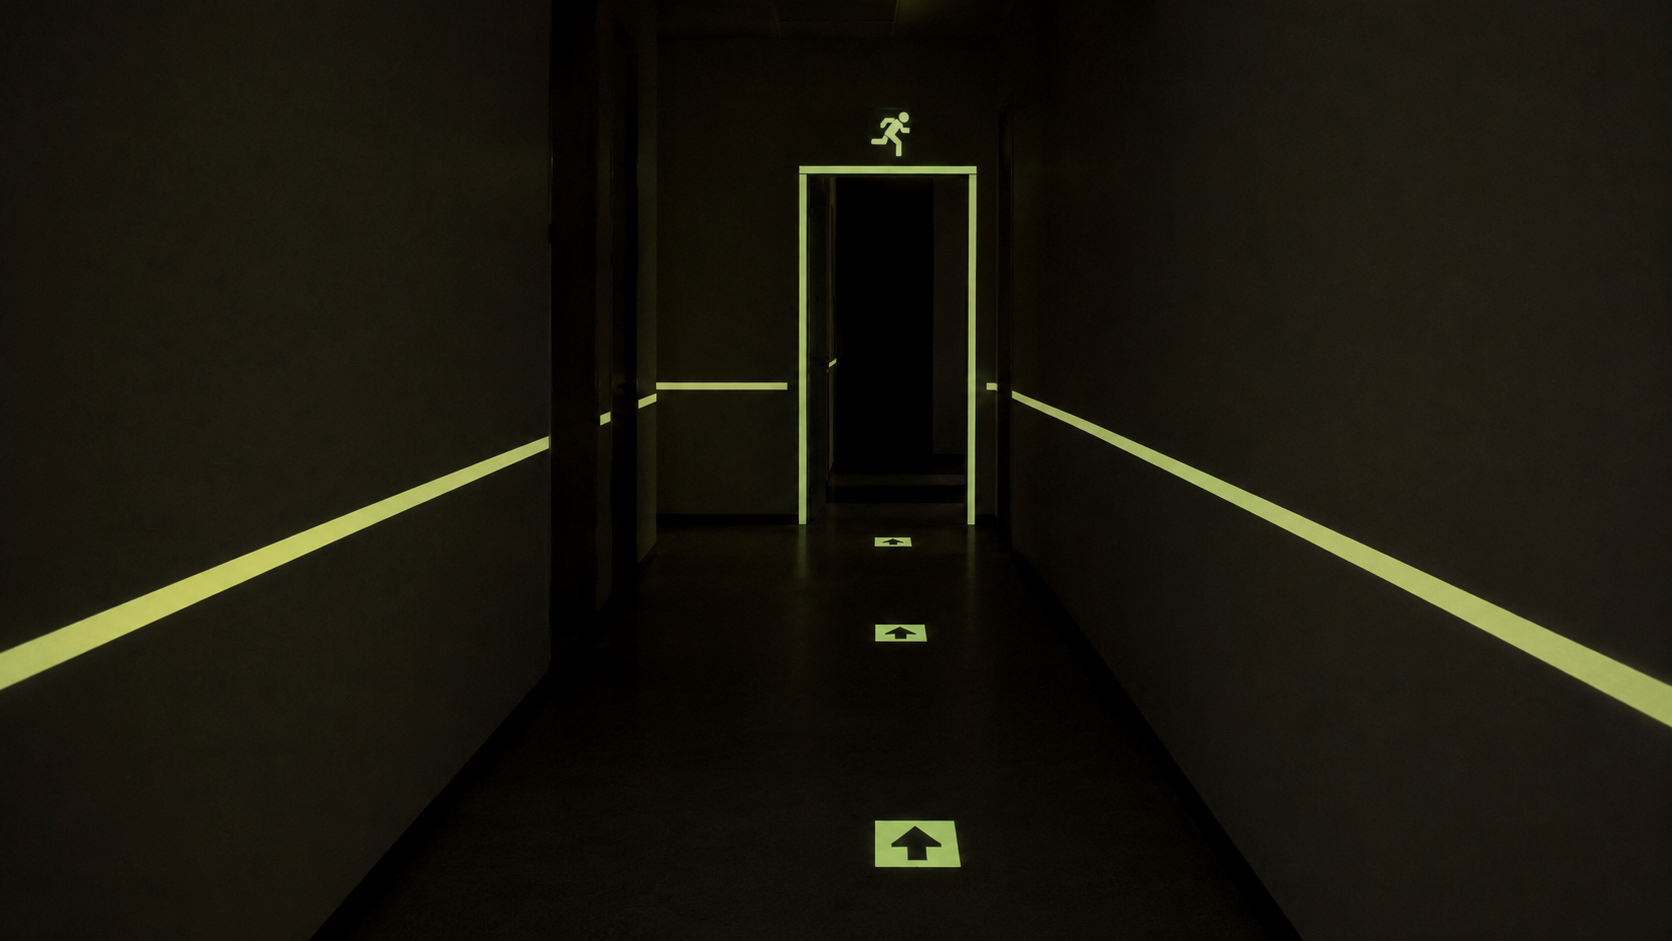
For system-level product selection, see the ABLAZE photoluminescent emergency and evacuation guidance solutions.
For factories, warehouses, equipment and hazard areas, see our industrial safety and hazard marking materials.
Does PET, PVC or Acrylic Determine Luminance?
The base-film name does not determine luminance by itself.
Photoluminescent performance can be affected by:
Type and quality of luminous pigment
Pigment concentration
Luminous-layer thickness
Pigment dispersion
Film transparency
Surface coating
Background layer
Manufacturing consistency
Printing and lamination
Charging conditions
PET, PVC and acrylic mainly influence properties such as flexibility, dimensional stability, tear resistance, processing and environmental durability.
PET Photoluminescent Film
PET constructions generally offer good dimensional stability and a smooth surface. They are useful for precision-cut symbols, safety labels, evacuation maps and flat sign manufacturing.
See ABLAZE HW9100 PET photoluminescent film for product and processing information.
PVC Photoluminescent Film
PVC constructions are usually more flexible and convenient for wall markings, door frames, stairways, safety stickers and flat or slightly curved surfaces.
See ABLAZE HW9300 PVC photoluminescent film.
Acrylic Photoluminescent Film
Acrylic constructions may be selected when improved weather resistance and longer-term dimensional or surface performance are required.
However, the material name alone does not establish luminance, fire performance or regulatory compliance. Always confirm the exact product model and test report.
How Printing and Lamination Affect Afterglow
Photoluminescent film absorbs light through its exposed surface and emits stored energy through the same visible area.
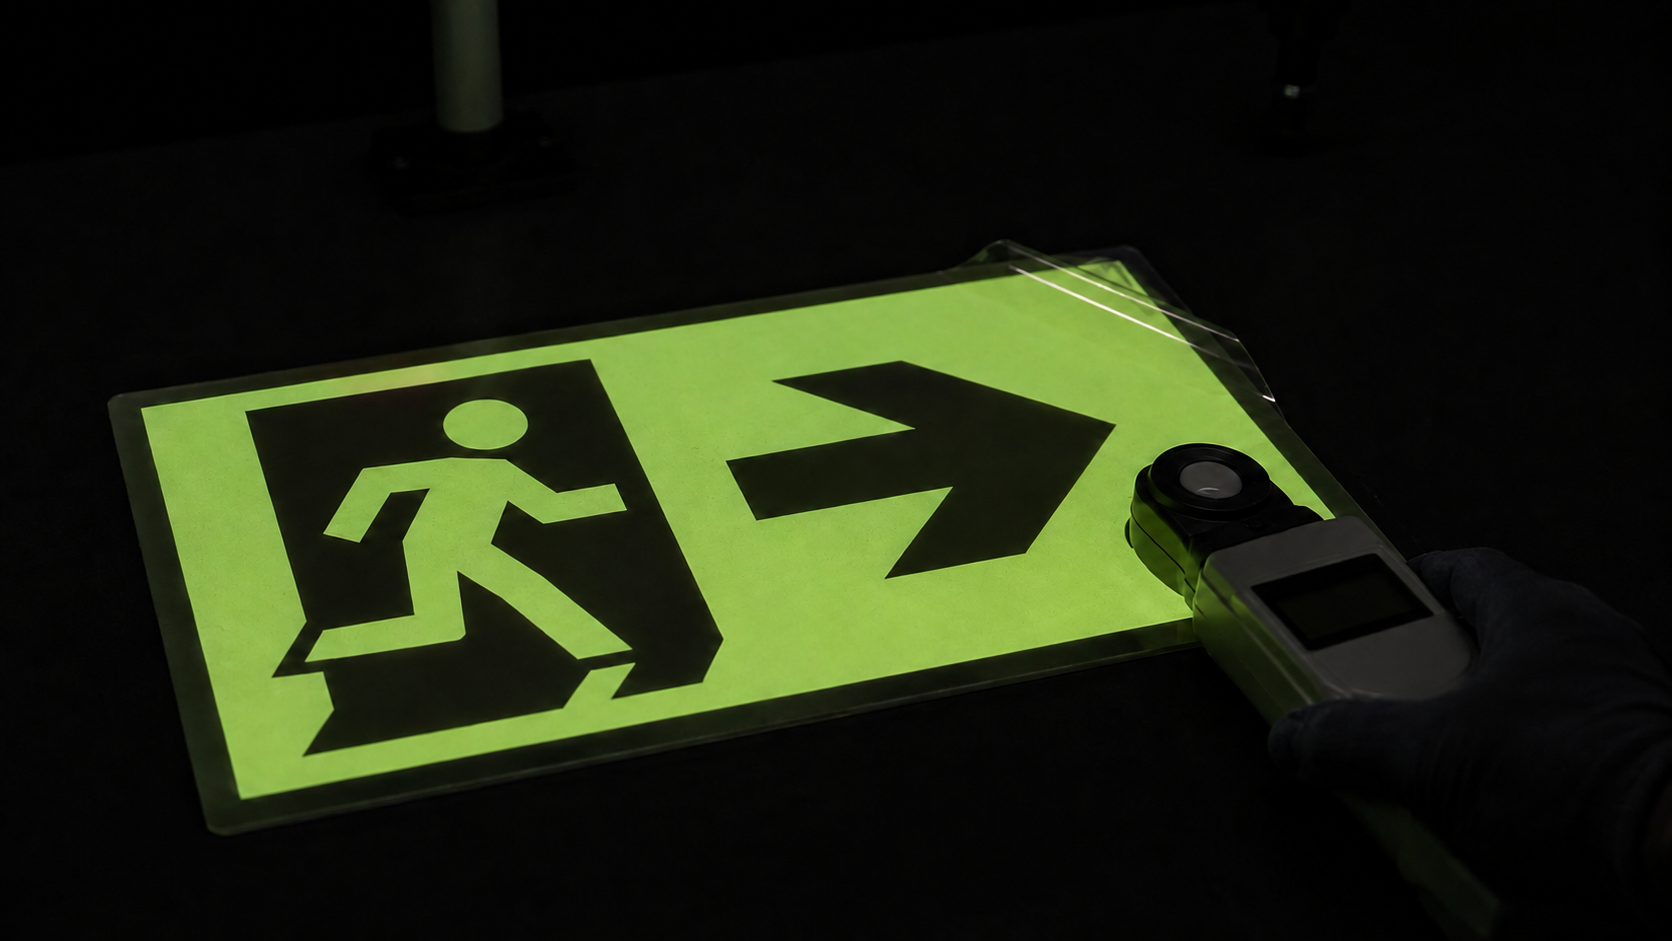
Opaque ink blocks part of the luminous surface. Heavy ink coverage can therefore reduce the total glowing area and change how the finished sign appears in darkness.
Printing design should consider:
Percentage of luminous area
Ink opacity
Ink color
Print thickness
Graphic contrast
Charging-light access
Required pictogram design
Viewing distance
A clear laminate can also change optical transmission. A protective layer that looks transparent in daylight may absorb part of the wavelength range needed to charge the luminous layer or reduce emitted light.
Before mass production:
Print the actual artwork.
Apply the intended laminate or clear coat.
Condition the finished sample.
Test the complete construction.
Compare it with the project requirement.
Check adhesion, abrasion, cleaning and aging performance.
Do not use an unprinted raw-film test report as the only evidence for a heavily printed finished safety sign.
Photoluminescent Film Buyer’s Checklist
Before placing a bulk order, ask the supplier for the following information.
Item to confirm | What the supplier should provide |
|---|---|
Product identification | Exact model, construction, material and thickness |
Test standard | Standard name and edition |
Activation conditions | Light source, illuminance and charging duration |
Luminance data | Required 10-, 60- and 90-minute values |
Data type | Guaranteed minimum or typical result |
Test documentation | Internal or third-party report |
Batch control | Production-lot testing and traceability |
ISO classification | Complete class results, not only one time point |
Printing compatibility | Approved ink and printing method |
Lamination compatibility | Tested protective-film or coating recommendation |
Adhesive performance | Suitable substrate and application conditions |
Environmental performance | Indoor/outdoor suitability, water, UV and temperature |
Fire performance | Required report for the intended market |
Finished-product testing | Confirmation after printing and lamination |
Sample availability | Material from the proposed product construction |
The purchase order should repeat the required luminance values and test conditions. Do not rely only on a previous email, brochure or verbal promise.
Common Mistakes When Buying Photoluminescent Film
Comparing Values from Different Test Methods
A 10-minute result after five minutes at 1,000 lux should not be treated as equivalent to a result produced by a different lamp, illuminance or activation time.
Selecting Film Only by Glow Duration
“Eight hours” does not state how bright the film will be at 10, 60 or 90 minutes.
Looking Only at the Highest Value
High initial brightness may hide faster decay.
Ignoring the Available Charging Light
A high-grade film cannot provide its published laboratory performance if the installed location does not provide sufficient charging light.
Testing Only the Raw Material
Printing, lamination, contamination and installation can change the performance of the finished marking.
Treating a Test Method as a Certificate
ASTM E2073 explains how to measure luminance. It does not by itself establish every project’s pass/fail threshold.
Accepting a Report for a Different Product
The report should identify the same model and construction as the supplied material.
Frequently Asked Questions
What is a good 10-minute luminance for photoluminescent film?
There is no universal number for every application. Under ISO 17398, the 10-minute minimum values are 23 mcd/m² for Class A, 50 mcd/m² for Class B, 140 mcd/m² for Class C and 260 mcd/m² for Class D.
The required class depends on the project specification and local regulations.
What is a good 60-minute luminance value?
Under ISO 17398, the 60-minute minimum values are 3 mcd/m² for Class A, 7 mcd/m² for Class B, 20 mcd/m² for Class C and 35 mcd/m² for Class D.
Do not apply these numbers to a project using a different standard without verifying the requirements.
Why do some data sheets show 10 and 60 minutes but not 90 minutes?
DIN- and ISO-based data sheets commonly emphasize 10- and 60-minute performance. ASTM E2073 records 10-, 60- and 90-minute luminance, so 90-minute results are more common in ASTM-based testing and certain North American applications.
Is the 10-minute value more important than the 60-minute value?
They measure different parts of the decay curve.
The 10-minute value describes early brightness, while the 60-minute value indicates sustained afterglow. Professional product selection should normally consider both.
Does a higher 10-minute value always mean better photoluminescent film?
No. A material can have high initial brightness but faster decay. Compare the full luminance profile under identical test conditions.
Does an ASTM E2073 test report mean that the film passes every building code?
No. ASTM E2073 is a measurement method. The required minimum values and installation rules come from the applicable performance specification, building code or project document.
Can a smartphone measure photoluminescent luminance?
A smartphone may be useful for visual documentation, but it is not a substitute for a calibrated luminance meter and controlled laboratory conditions.
Can photoluminescent film be tested after printing?
Yes. For safety applications, testing the final printed and laminated construction can be more representative than testing only the raw film.
Does photoluminescent film need electricity?
No. It absorbs energy from natural or artificial light and releases visible afterglow in darkness. It does not require batteries, wiring or an external electrical supply to emit the stored light.
Can two suppliers’ test reports be compared directly?
Only when the reports use equivalent test standards, activation conditions, sample constructions, measurement times and units.
About ABLAZE Photoluminescent Film
ABLAZE is a brand of Changzhou Zhenghe New Material Technology Co., Ltd., a professional manufacturer and supplier of reflective and photoluminescent materials for safety signage, emergency guidance, industrial identification and transportation applications.
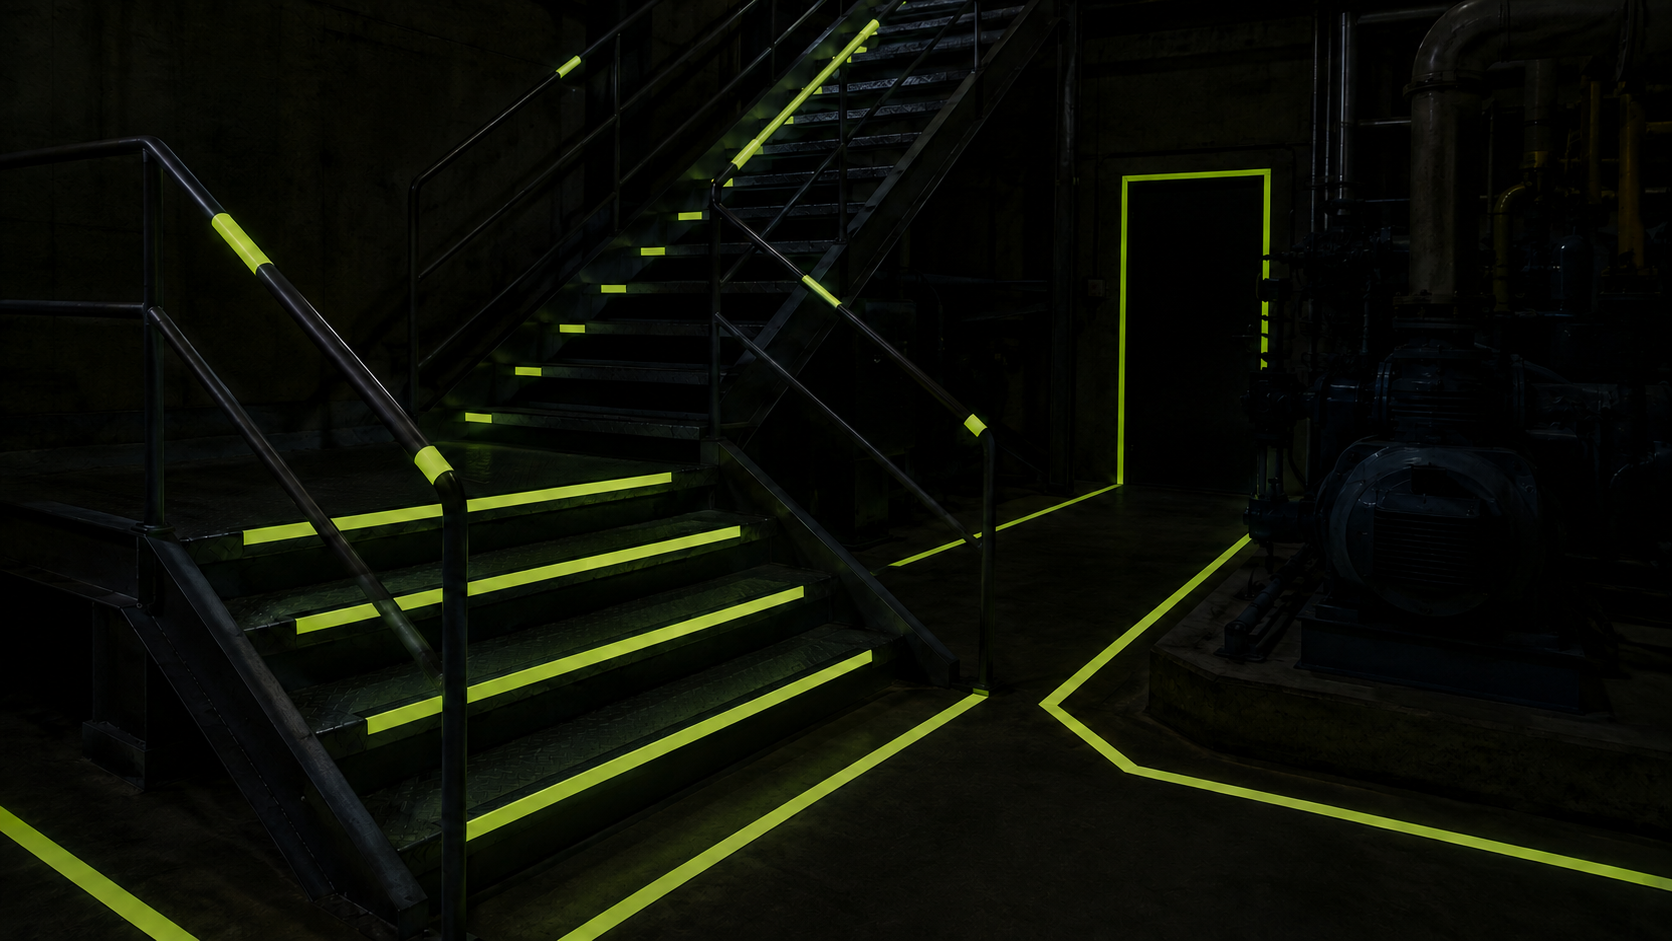
Our photoluminescent film options include different base materials and processing characteristics for:
Emergency exit signs
Evacuation route markings
Stairway and door-frame guidance
Fire safety signs
Industrial hazard labels
Safety stickers
Printed evacuation maps
Customized glow-in-the-dark graphics
We recommend selecting the product according to the required test standard, luminance values, charging conditions, printing method, substrate and installation environment.
When requesting a recommendation or sample, please provide:
Country or destination market
Application
Applicable standard
Required 10-, 60- and 90-minute values
Expected charging light
Indoor or outdoor use
Required base material
Printing method
Lamination requirement
Roll size and order quantity
This information allows the ABLAZE team to recommend a more appropriate photoluminescent film construction and prepare samples for evaluation before bulk production.
View the ABLAZE HW9100 photoluminescent film product page or contact Changzhou Zhenghe New Material Technology Co., Ltd. to request current technical data, samples, pricing and OEM options.
Technical note: Standards and building codes may be revised or adopted differently by each country or authority. Always confirm the required standard edition and local project requirements before specifying a safety product.
RELATED NEWS

Sun, Sand and a 50°C Container: Getting Reflective Sheeting Through a Hot Climate
In hot regions, reflective sheeting can start ageing before it reaches the sign shop. UV, heat, dust and humidity each attack a different part of the product, and each needs its own defence.Picture a distributor in a hot coastal city who receives a container of prismatic sheeting in midsummer. It si
