


Reflective sheeting can look bright and uniform when a roll is first opened but still fail after application. Weak bonding may cause edge lifting. Dimensional instability may create gaps, curling or distorted graphics. Sunlight, moisture and temperature cycling may then reduce color, adhesion, surface integrity or retroreflectivity.
For that reason, buyers should not evaluate adhesion, shrinkage and weather resistance as three unrelated claims. They should test them as a connected material system under controlled conditions.
This guide explains how to test pressure-sensitive reflective sheeting for traffic signs, commercial signs, vehicle markings, safety decals and other outdoor applications. It also shows how to distinguish a useful factory screening test from a formal compliance test.
Changzhou Zhenghe New Material Technology Co., Ltd., manufacturer of ABLAZE® reflective materials, recommends defining the substrate, processing method, exposure environment and acceptance criteria before samples are tested. A test result is meaningful only when the method and end use are clearly identified.
Quick Answer: How Do You Test Reflective Sheeting Adhesion, Shrinkage and Weather Resistance?
Use conditioned specimens from an identified production lot and test them as follows:
Property | Core Question | Basic Test | What to Record |
|---|---|---|---|
Adhesion | Will the sheeting remain bonded to the intended surface? | Apply controlled strips to the actual cleaned substrate, allow a defined dwell time, then perform a peel or specified static-load test | Peel force, peel distance, dwell time and failure interface |
Shrinkage | Will the face film change size after the liner is removed or after application? | Measure a conditioned liner-backed square, remove the liner, place it adhesive-side up and remeasure at defined intervals | Machine-direction and cross-direction change at 10 minutes, 24 hours and any additional required interval |
Weather resistance | Will the complete system retain its properties after light, moisture and heat exposure? | Expose matched specimens outdoors or in a specified xenon-arc or fluorescent-UV cycle | RA retention, color change, gloss, adhesion, dimensional change and visible defects |
The essential rule is consistency. Use the same specimen size, conditioning, substrate, cleaning method, application pressure, dwell time, measurement geometry and test equipment when comparing rolls or suppliers.
Why These Three Tests Must Be Evaluated Together
Initial tack is not the same as long-term adhesion. A soft adhesive may feel strong immediately but move under heat. A film may pass a room-temperature peel test yet lift after water enters an edge. A flexible PVC face film may shrink and pull against the adhesive, while a rigid PET or acrylic film may crack if it is forced around an unsuitable curve.
Weathering adds another layer of stress. UV radiation can embrittle the face film, heat can increase internal stress, moisture can attack exposed edges and thermal cycling can repeatedly expand and contract the system.
A reliable qualification program therefore asks three connected questions:
Does the adhesive bond correctly to the intended substrate?
Does the face film remain dimensionally stable?
Does the complete construction retain both properties after environmental exposure?
For a broader incoming-inspection program covering reflectivity, color, printing and roll quality, see the ABLAZE guide to testing reflective sheeting before a bulk order.
Which Standards Apply to Reflective Sheeting Testing?
The applicable standard depends on the product and application.
As of August 2026, ASTM D4956-26 is the active ASTM specification for flexible glass-bead and microprismatic retroreflective sheeting used on traffic-control signs, delineators, barricades and related devices. Its scope covers the sheeting material itself; it does not automatically qualify inks, overlays or every finished sign construction.
Other useful methods include:
ASTM D3330/D3330M: peel adhesion methods for pressure-sensitive tape, including 180-degree and 90-degree configurations. It can support controlled quality comparisons, but the method and acceptance value must be agreed in advance.
ASTM G154: operation of fluorescent ultraviolet lamp apparatus for exposure of materials.
ASTM G155: operation of xenon-arc lamp apparatus for exposure of materials.
Project or national standards: EN 12899-1, GB/T 18833, AASHTO requirements, local road-authority specifications or customer-defined methods may apply to a particular order.
Do not write only “tested to ASTM” on a purchase order. State the complete standard designation and edition, product type, adhesive class, color, test method, exposure cycle and acceptance requirement.
Before Testing: Prepare a Controlled Test Plan
Many contradictory adhesion results are caused by inconsistent specimen preparation rather than the material itself.
1. Identify the Samples
Record:
Manufacturer and product code
Reflective technology: glass bead or microprismatic
Face-film material: PVC, PET, acrylic or another construction
Color
Adhesive type and adhesive class, if applicable
Release-liner construction
Lot number, roll number and production date
Sample position across the roll
Machine direction and cross direction
Microprismatic orientation, where relevant
Test more than one piece. For comparative weathering, at least three replicates and an unexposed control provide much stronger evidence than one specimen.
2. Use the Actual Application Substrate
A clean stainless-steel or aluminum laboratory panel is useful for repeatable comparison. It does not replace testing on the real application surface.
If the finished product will be applied to powder-coated aluminum, painted metal, polyethylene, traffic drums, vehicle paint or another plastic, include that exact surface in the qualification program. Surface energy, coating chemistry, roughness, plasticizers and outgassing can all change adhesive performance.
3. Control Surface Preparation
The substrate should be clean, dry and free from:
Dust
Grease and oil
Wax or silicone
Mold-release agents
Oxidation
Moisture
Cleaner residue
Loose paint or powder
Use the cleaning method recommended for the substrate and sheeting. Record the cleaner, wiping material and drying time. Do not quietly change the cleaning procedure between samples.
4. Condition the Material
Unless the governing specification requires another condition, many comparative laboratory programs condition the sheeting and panels at approximately 23°C and 50% relative humidity before testing. The exact temperature, humidity and conditioning period must be recorded.
Cold material develops pressure-sensitive adhesive bonds more slowly. A roll taken directly from a cold warehouse should not be compared with a fully conditioned sample.
5. Standardize Application Pressure
Apply test strips with a specified roller, number of passes, speed and direction. For larger panels, document the laminator pressure and speed or the hand-squeegee procedure.
Pressure-sensitive adhesive requires adequate wet-out. Finger pressure is too variable for a numerical comparison.
Test 1: How to Test Reflective Sheeting Adhesion
Adhesion testing should separate three questions: initial tack, developed peel strength and resistance to sustained load.
Method A: Practical Edge-Lift Screening
This is a fast workshop test for obvious incompatibility.
Cut equal specimens from the same orientation.
Clean and condition the actual substrate.
Apply each specimen using controlled pressure without stretching the film.
Inspect immediately for bubbles, poor wet-out or edge curl.
Reinspect after 24 hours and 72 hours.
If relevant, repeat after water exposure, heat aging or temperature cycling.
Record any edge lift in millimeters and photograph the same marked area at every interval. This method is useful for screening but does not generate a standardized peel-strength value.
Method B: 180-Degree or 90-Degree Peel Test
Use a tensile or peel tester when a numerical comparison is required.
Cut strips to the width required by the selected method; 25 mm is a common reporting width for internal QC.
Apply the strips to the specified panel with controlled pressure.
Allow the agreed dwell time, such as 20 minutes, 24 hours or 72 hours.
Fold back a free tab without disturbing the bonded section.
Peel at the specified angle and crosshead speed.
Ignore the unstable start and end regions if the method requires it.
Record the average force and the range, normally in N/25 mm or the unit required by the contract.
Record the failure mode, not only the number.
The peel angle, speed and dwell time can materially change the result. Two reports cannot be compared if one uses a 90-degree peel after 20 minutes and the other uses a 180-degree peel after 24 hours.
ASTM D3330 also cautions that different backing stiffness and adhesive rheology can affect measured peel force. Use the method for controlled QA and agreed acceptance—not as a universal ranking of every different reflective sheeting construction.
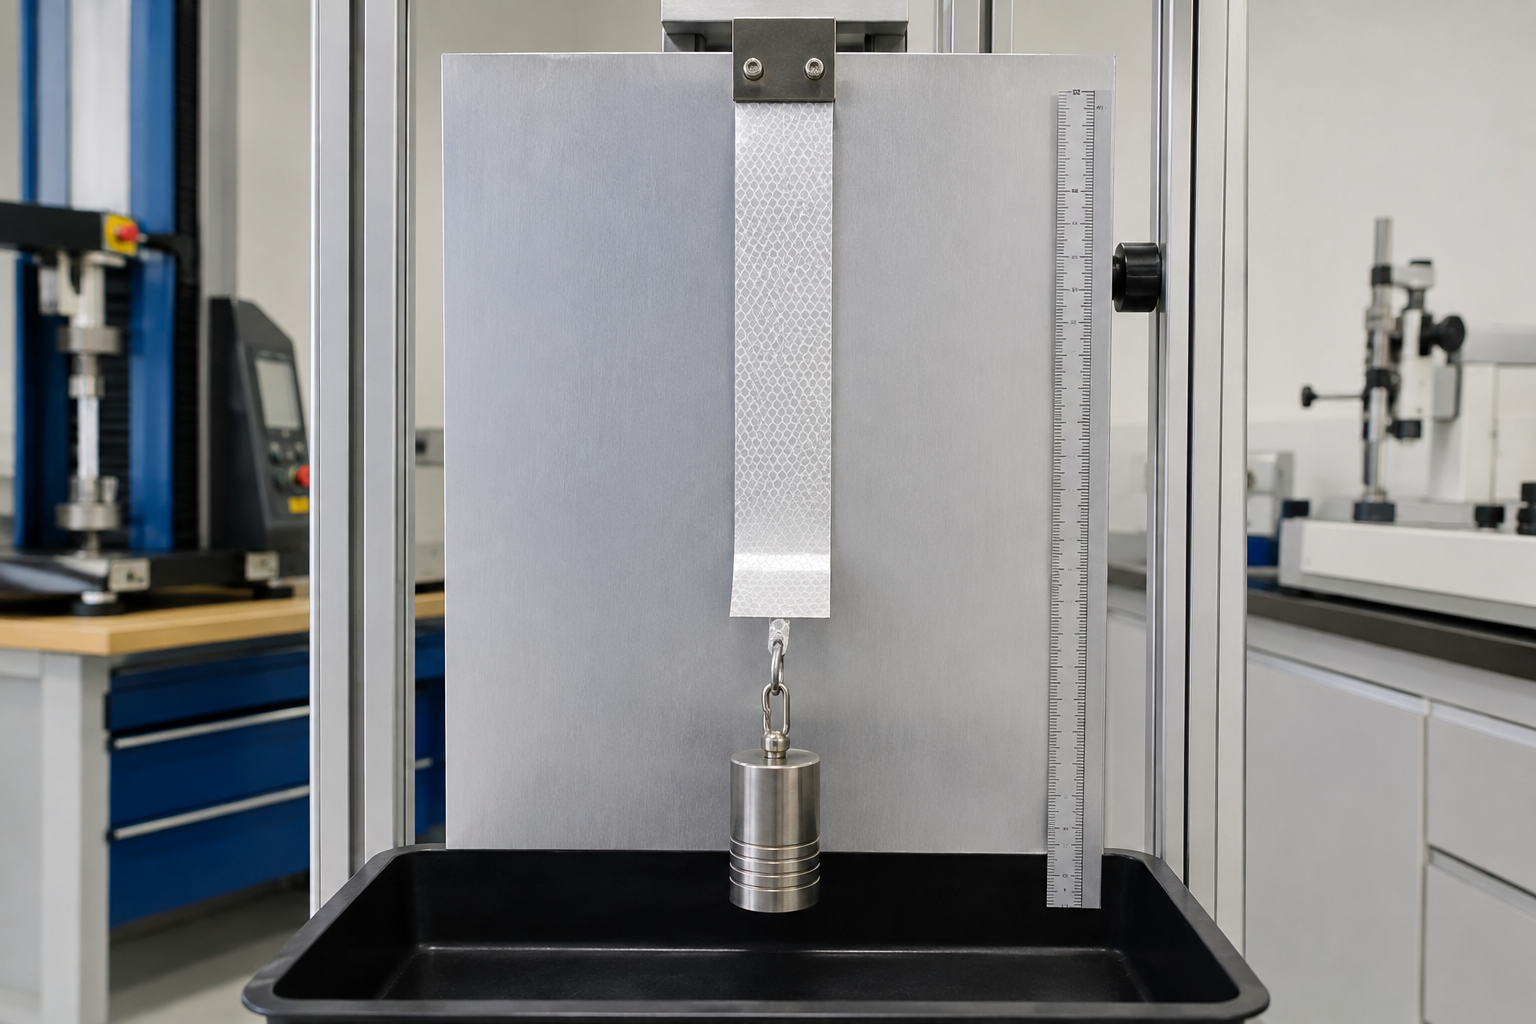
Method C: Static-Load Adhesion Test
Traffic-sheeting specifications may require a static-load method.
Apply a specified strip to a smooth prepared panel.
Condition the assembly for the required time.
Mount the panel vertically.
Attach the specified mass to the free end of the strip.
Maintain the load for the required period.
Measure how far the bond peels.
Some D4956-derived procurement specifications cite a 0.79 kg load for five minutes for certain adhesive classes, together with a maximum permitted peel distance. Always verify the current governing edition, adhesive class and project limit instead of copying a value from an unrelated product.
How to Interpret Adhesion Failure
Observation | Failure Interface | Likely Meaning |
|---|---|---|
Film removes cleanly and the substrate is bare | Adhesive-to-substrate failure | Contamination, unsuitable surface, low application temperature, inadequate pressure or incompatible adhesive |
Adhesive remains on both surfaces | Cohesive adhesive split | Adhesive weakness, chemical attack, heat aging or excessive stress |
Adhesive remains on the panel but the face film separates | Internal construction failure | Film-to-adhesive separation or internal delamination |
Only an edge lifts after heat or water exposure | Environmental edge failure | Film shrinkage, poor edge wet-out, moisture ingress or thermal stress |
Printed ink or laminate lifts while the sheeting remains bonded | Graphic-system failure | Ink, curing or overlaminate incompatibility rather than base-adhesive failure |
If the problem is already visible in production, use the reflective sheeting defects and troubleshooting guide to identify the failed layer before assigning a cause.
Test 2: How to Measure Reflective Sheeting Shrinkage
Shrinkage testing measures dimensional change after the release liner is removed. It helps predict edge pullback, gaps between panels, registration errors, curling and stress on the adhesive bond.
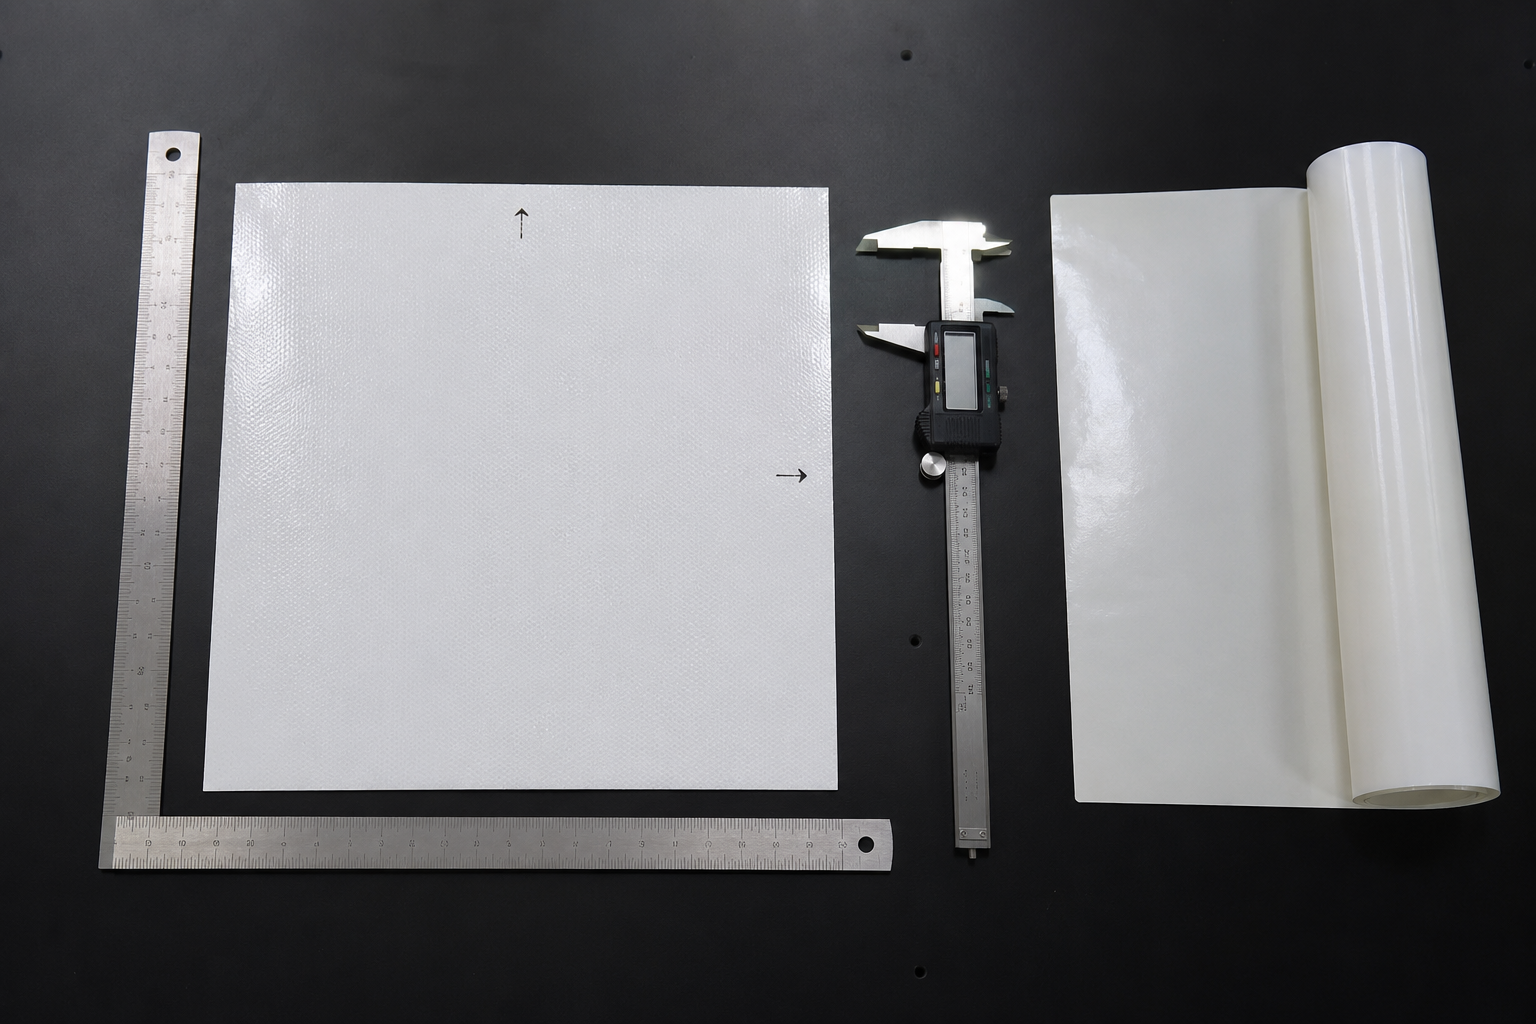
Free-Film Shrinkage Test
A commonly used traffic-sheeting procedure uses a conditioned 9 × 9 in. specimen, approximately 229 × 229 mm.
Cut the specimen square with the liner attached.
Mark the machine direction and cross direction.
Condition the specimen as required by the applicable specification.
Measure the initial dimensions at several marked points.
Remove the liner carefully without stretching the sheeting.
Place the specimen adhesive-side up on a flat surface so that it can move freely.
Measure it after 10 minutes.
Measure it again after 24 hours.
Record changes in both directions and note curl, distortion or adhesive transfer.
Calculate dimensional change as:
Shrinkage (mm) = Initial length − Length after exposure
Shrinkage (%) = [(Initial length − Final length) ÷ Initial length] × 100
A frequently specified limit in traffic-sheeting procurement documents derived from earlier ASTM D4956 methods is no more than 0.8 mm after 10 minutes and 3.2 mm after 24 hours in any dimension. Treat this as a specification reference, not a universal value for every PVC, PET, acrylic, commercial or specialty film. The current project document controls acceptance.
Applied-Panel Dimensional Stability Test
The free-film test does not show how adhesive restraint, printing, laminating or substrate geometry affects the final construction. Add an applied-panel test when converting performance matters.
Apply a measured specimen to the real substrate.
Include cut lines, butt joints or graphic edges representative of production.
Allow the bond to develop.
Measure edge movement and gaps before exposure.
Expose the panel to the agreed heat, humidity or thermal cycle.
Remeasure the same marked locations.
Inspect for edge lift, tunneling, curl, cracks and registration shift.
For printed graphics, test after the ink has fully dried or cured and after the intended overlaminate has been applied. Solvent retention, UV-curing energy and laminate tension can change dimensional stability.
Why Material Construction Changes Shrinkage Behavior
Reflective Sheeting Construction | Typical Test Focus |
|---|---|
Flexible PVC reflective vinyl | Film shrinkage, plasticizer interaction, print drying, edge pullback and performance on simple curves |
Semi-rigid PET reflective sheeting | Flatness, roll memory, heat deformation and suitability for rigid flat substrates |
Acrylic reflective sheeting | Outdoor dimensional stability, brittleness, edge cracking and compatibility with the intended print system |
Microprismatic reflective sheeting | Face-film stability, sealed-cell integrity, orientation and edge response after moisture and thermal exposure |
For more detail on these material differences, see PET vs PVC vs acrylic reflective sheeting.
Test 3: How to Test Reflective Sheeting Weather Resistance
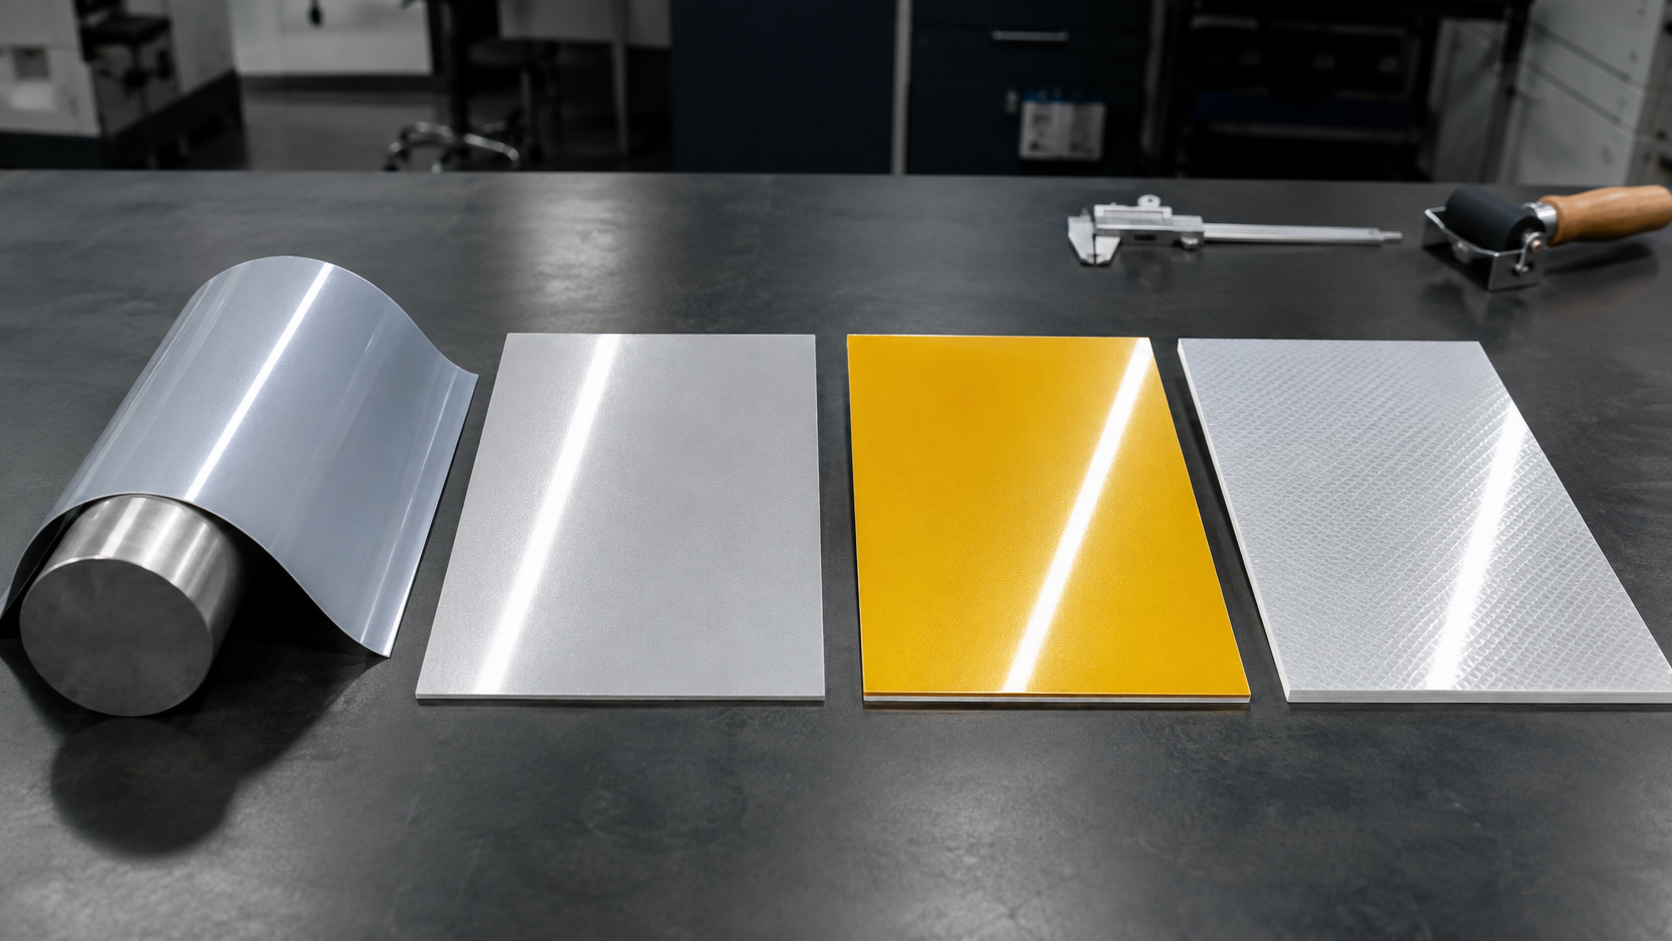
Weather resistance is the ability of the complete reflective construction to retain useful optical, color, physical and adhesive performance after exposure to sunlight, moisture, heat and temperature change.
No single “UV test” proves every outdoor application. Choose the exposure method according to the product, climate, orientation and governing specification.
Option 1: Natural Outdoor Exposure
Natural exposure provides direct environmental relevance but requires time and careful documentation.
Record:
Exposure site and climate
Start and end dates
Specimen direction and mounting angle
Vertical, horizontal or other orientation
Backing and mounting method
Cleaning or no-cleaning procedure
Rainfall, temperature or other available environmental data
Shading and obstruction
Control material and replicate count
A sample left outdoors for 30 days may reveal rapid fading, cracking or edge lifting. It cannot by itself prove a multi-year service life.
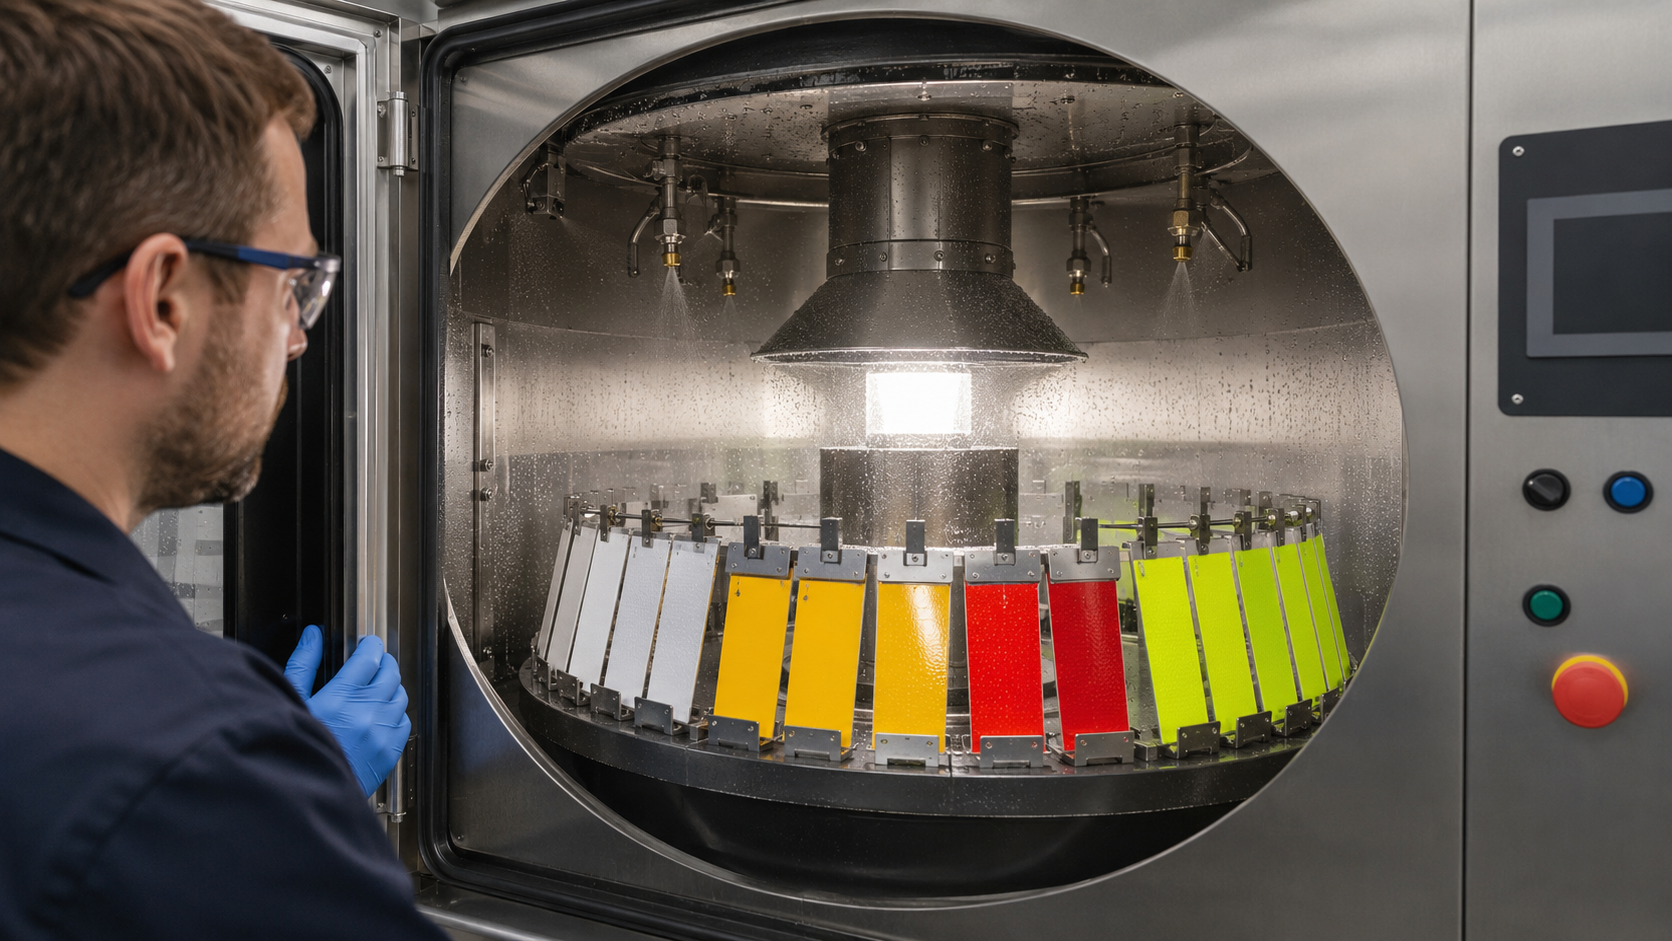
Option 2: Xenon-Arc Accelerated Weathering
Xenon-arc testing uses filtered, full-spectrum light with controlled temperature and optional moisture. It is useful when color change, visible-light effects and overall sunlight simulation are important.
ASTM G155-25 describes operation of xenon-arc apparatus, but it does not by itself select the correct exposure cycle or pass/fail requirement for reflective sheeting. A complete report should identify:
Filter type
Irradiance and control wavelength
Light and dark periods
Black-panel or black-standard temperature
Chamber-air temperature
Relative humidity
Water-spray or moisture cycle
Total exposure time or radiant exposure
Specimen repositioning, if used
Control materials and replicate count
Option 3: Fluorescent UV and Condensation Testing
Fluorescent UV apparatus can provide efficient comparative screening of UV and moisture-related degradation. ASTM G154-23 describes apparatus operation, but the lamp, irradiance, temperature, condensation or spray cycle and evaluation criteria must still be specified.
Record the exact lamp type. A result reported only as “1,000 hours UV” is incomplete.
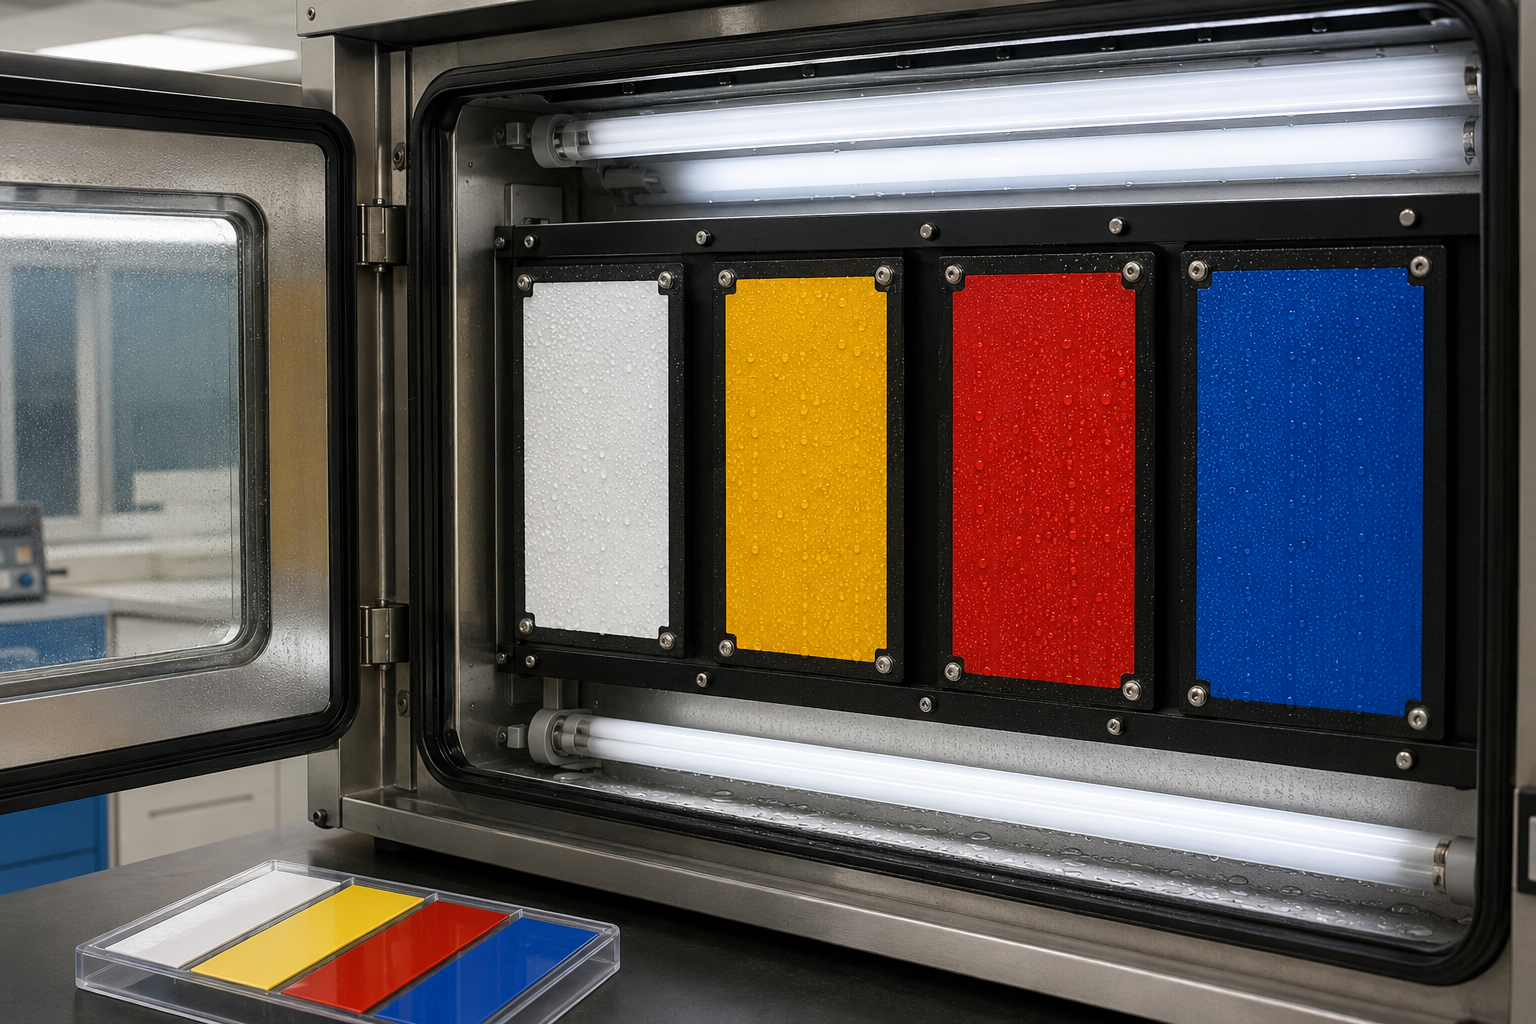
Never Convert Accelerated-Test Hours Directly Into Outdoor Years
There is no universal conversion such as “1,000 hours equals five years outdoors.” Geography, altitude, specimen angle, temperature, moisture, light spectrum and material chemistry all affect correlation.
Accelerated weathering data is most defensible as comparative data unless a company has established its own empirical correlation with outdoor exposure.
Use accelerated weathering to compare a candidate material with:
An approved production standard
A retained golden sample
A material with known poor durability
A material with known acceptable field performance
What to Measure Before and After Weathering
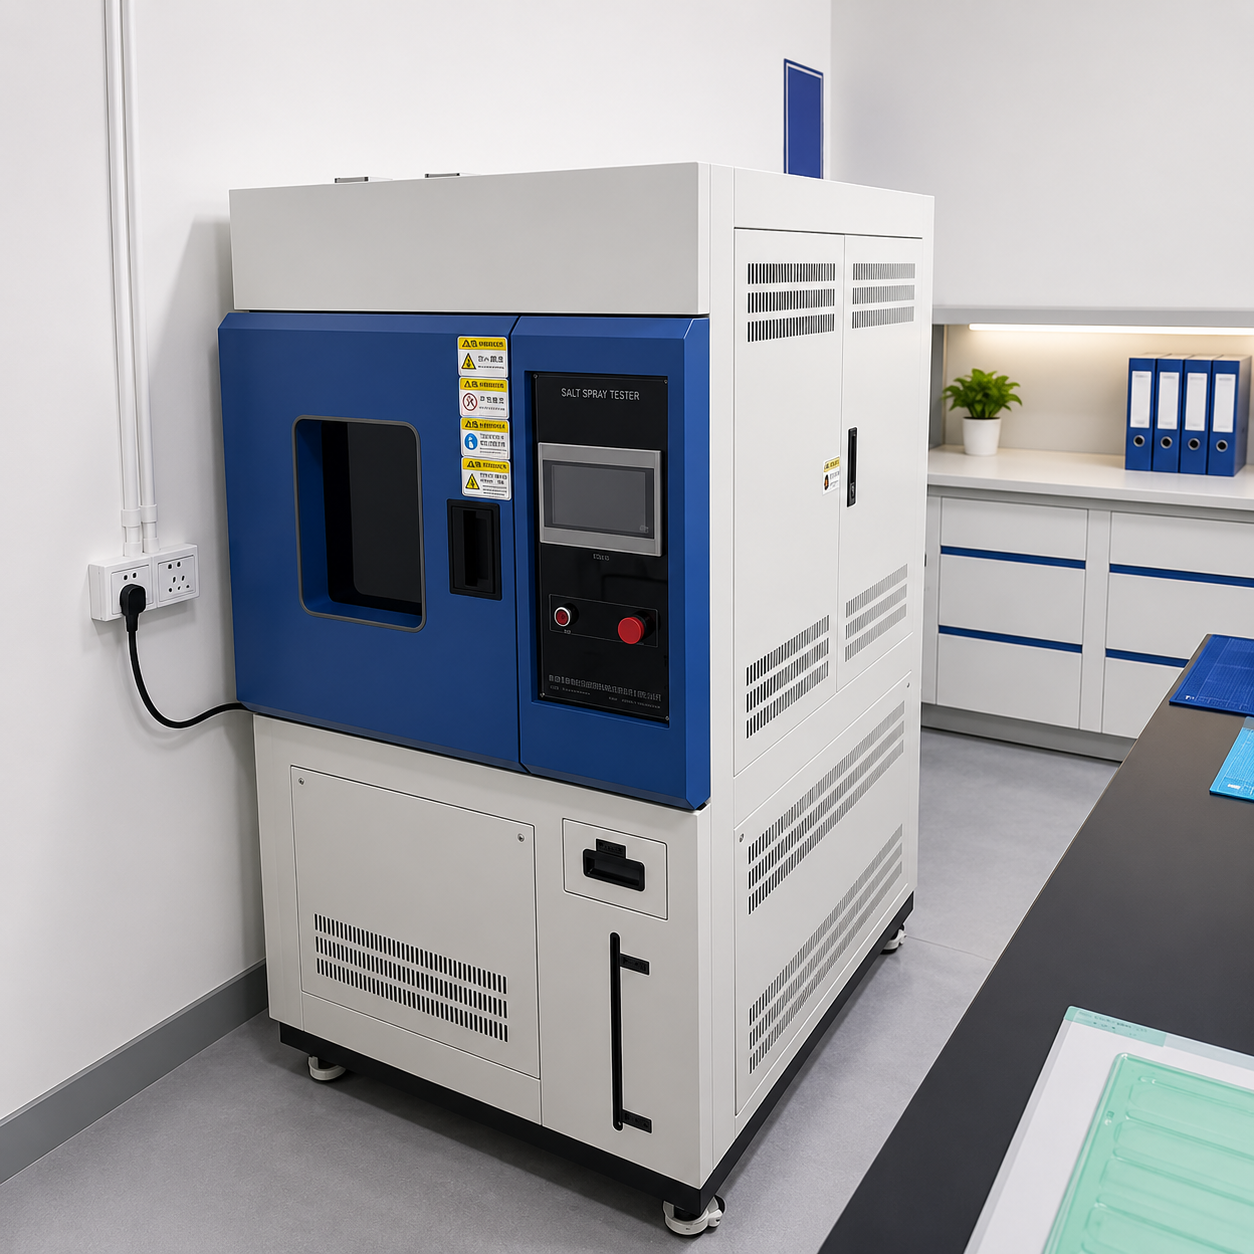
Do not rely on a photograph alone. Measure the same marked specimens before and after exposure.
Property | Recommended Evaluation |
|---|---|
Retroreflectivity | Measure coefficient of retroreflection, RA, at the specified observation and entrance angles; keep sample orientation constant |
RA retention | Calculate |
Daytime color | Measure the specified color coordinates or color difference against the unexposed control |
Nighttime color | Evaluate with the geometry required by the project where applicable |
Surface condition | Inspect for cracking, scaling, pitting, blistering, chalking, loss of gloss and abrasion |
Edges and layers | Inspect for edge lifting, curling, tunneling, moisture ingress and delamination |
Adhesion | Repeat the same peel or static-load test used before exposure |
Dimensions | Remeasure marked lengths, graphic gaps and panel edges |
Printed system | Check ink adhesion, fading, cracking, laminate separation and RA through printed areas |
For correct RA terminology and measurement geometry, read Coefficient of Retroreflection Explained.
Reflective Sheeting Pass/Fail Criteria: What Should a Buyer Specify?
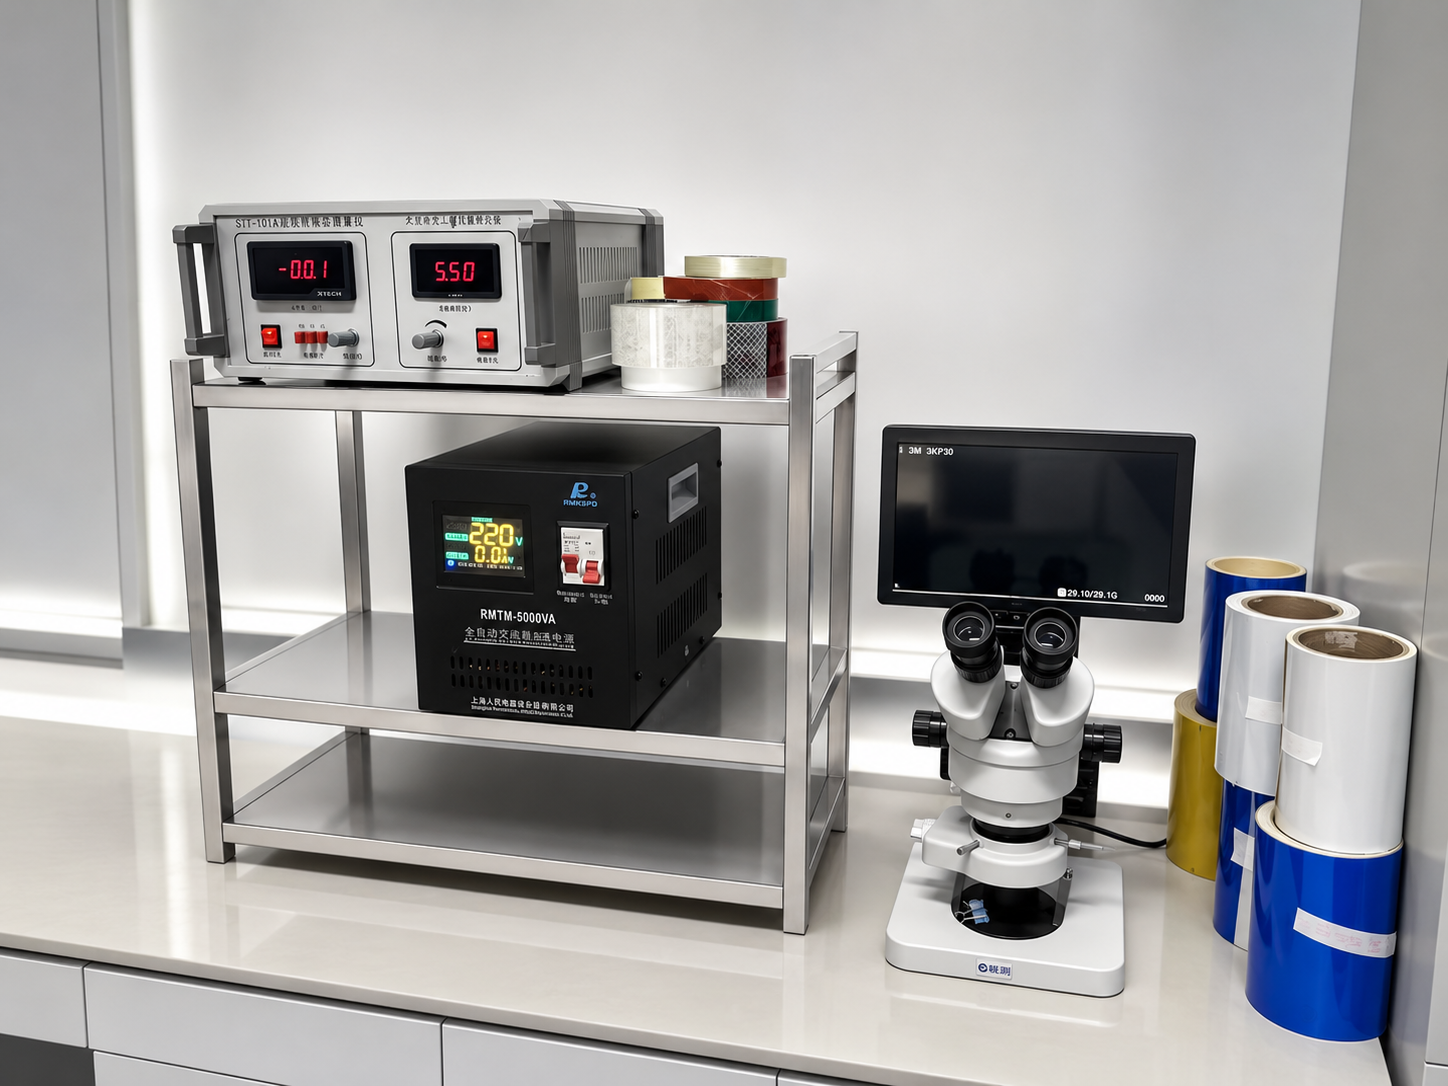
There is no single numerical limit that fits every reflective sheeting product. A traffic-sign material, printable commercial vinyl, license-plate film and flexible vehicle marking have different constructions and risks.
Use a written acceptance table such as this before testing begins:
Test Item | Method Variables to Lock | Acceptance Basis |
|---|---|---|
Initial adhesion | Substrate, cleaning, roller, dwell and temperature | No bubbles or edge lift; meets agreed quick-screen requirement |
Peel adhesion | Width, angle, speed, dwell, substrate and unit | Meets project-specific minimum or approved-sample range; acceptable failure mode |
Static-load adhesion | Strip size, panel, mass, time and adhesive class | Peel distance does not exceed the governing specification |
Free-film shrinkage | Specimen size, conditioning, liner-removal method and intervals | Within the product or project limit in both machine and cross directions |
Applied dimensional stability | Substrate, print/laminate system and environmental cycle | No unacceptable edge movement, gap growth, curl, tunneling or cracking |
Accelerated weathering | Apparatus, lamp/filter, irradiance, temperature, moisture cycle and duration | Meets agreed RA retention, color, adhesion and appearance requirements |
Natural exposure | Site, orientation, angle, backing and period | Meets the governing project or product requirement |
For a regulated traffic project, use the numerical limits and edition required by the road authority. For a commercial or OEM product without a published standard, define acceptance from an approved construction and a controlled pilot trial.
Which Test Protocol Fits Each Application?
Application | Adhesion Priority | Shrinkage Priority | Weathering Priority |
|---|---|---|---|
Aluminum traffic signs | Prepared aluminum panel, specified adhesive class and project method | Free-film dimensional change plus applied-panel stability | RA and color retention, surface integrity and adhesion after specified exposure |
Printed commercial signs | Actual board or metal, plus ink/laminate interface | Post-print and post-lamination edge movement | Color, gloss, cracking, ink adhesion and base-sheet adhesion |
Vehicle markings | Painted panel, curved geometry and cleaning resistance | Edge pullback after thermal cycling | UV, moisture, temperature cycling and wash/chemical exposure as required |
Plastic traffic devices | Exact plastic grade and surface treatment | Stress on curves and reboundable parts | Moisture, heat, low-temperature flexibility and edge performance |
License plates | Prepared plate substrate and post-embossing bond | Dimensional stability through laminating and embossing | RA, color, cleanability, plate-system adhesion and durability after the specified exposure |
Reflective labels and decals | Actual molded, painted or coated product | Die-cut edge stability and liner behavior | Application-specific UV, humidity, heat and chemical resistance |
Common Testing Mistakes That Produce Misleading Results
Testing Only Initial Tack
Initial tack does not show the fully developed bond or performance after heat and moisture. Check at defined dwell intervals and after relevant environmental exposure.
Using Glass Instead of the Real Substrate
Glass is convenient and smooth, but it may not represent powder coating, plastic, vehicle paint or oxidized aluminum.
Applying Samples by Hand Without Controlled Pressure
Different operators can create different wet-out. Use a documented roller, squeegee or laminator procedure.
Comparing Peel Values From Different Methods
A result in N/25 mm at 180 degrees cannot be compared directly with a 90-degree test using another speed and dwell time.
Calling a Short Outdoor Test a Durability Test
A few days or weeks outdoors can identify weak products but cannot substantiate a long-term warranty.
Reporting Only “UV Hours”
The apparatus, lamp or filter, irradiance, temperature and moisture cycle determine the severity and failure mode.
Weathering Only the Unprinted Base Film
If the customer will print, laminate, emboss or hot-stamp the material, test the finished construction as well as an unprocessed control.
Ignoring Color and Microprismatic Orientation
Different colors can age differently. Microprismatic orientation can change measured RA. Mark and control both variables.
Testing One Specimen and Reporting Only the Average
One result cannot show variation. Use replicates and report individual values, average, minimum and failure mode.
Troubleshooting: What Does Each Failure Suggest?
Failure After Testing | Possible Causes | Best Next Check |
|---|---|---|
Low peel strength on every panel | Adhesive formulation, contamination, low application temperature or insufficient pressure | Repeat on standard and actual panels with controlled cleaning and application |
Good initial adhesion but edge lift after heat | Film shrinkage, low cohesive strength or thermal mismatch | Free-film shrinkage, applied-panel heat cycle and failure-interface inspection |
Good room-temperature bond but failure after water | Edge wet-out, moisture-sensitive adhesive, porous substrate or internal ingress | Water-aged peel test and section inspection at the edge |
High shrinkage in machine direction only | Film orientation or manufacturing tension | Compare positions across the roll and review process-direction data |
RA falls while adhesion remains acceptable | Optical-layer damage, surface degradation, moisture ingress or incompatible print/laminate | RA by angle, microscopy or visual layer inspection and control comparison |
Color changes but RA remains stable | Pigment, topcoat, ink or laminate weathering | Instrumental color measurement and separate unprinted control |
Cracking with little shrinkage | Face-film embrittlement, excessive bend or incompatible laminate | Flexibility or mandrel evaluation before and after weathering |
Adhesive remains on panel while film separates | Internal delamination | Quarantine the lot and compare retained samples from the same construction |
A Practical Pre-Shipment Testing Workflow for Buyers
Define the end use, substrate, processing method, service environment and required life.
Identify the applicable standard and edition.
Approve a documented sample and retain an unexposed control.
Test the exact colors, adhesive and liner construction being ordered.
Run adhesion and shrinkage tests before environmental exposure.
Weather the raw sheeting and, where relevant, the complete printed or laminated system.
Repeat RA, color, adhesion and dimensional measurements after exposure.
Record individual results, photos, failure modes and sample traceability.
Compare the bulk batch with both the written specification and approved sample.
Use an agreed independent laboratory for formal compliance or safety-critical tenders.
How ABLAZE Supports Reflective Sheeting Qualification
ABLAZE® is the reflective material brand of Changzhou Zhenghe New Material Technology Co., Ltd. Our product range includes glass-bead and microprismatic reflective materials for traffic signs, commercial printing, industrial safety, vehicle identification and license-plate production.
The correct qualification plan depends on the complete application. ABLAZE can help buyers match samples and testing priorities according to:
Required reflective grade
PVC, PET, acrylic or microprismatic construction
Aluminum, painted metal, plastic or other substrate
Screen, eco-solvent, latex or qualified UV printing
Plotter cutting, laminating, embossing or hot stamping
Indoor, temporary outdoor or long-term outdoor use
Climate and installation orientation
Required standard, report and lot traceability
For example, ABLAZE PET reflective sheeting should be evaluated primarily on rigid flat sign panels, while ABLAZE PVC reflective vinyl requires print, shrinkage and flexible-application checks. ABLAZE acrylic reflective sheeting should be qualified for the intended weathering and printing system.
For public-safety projects or formal certification, ABLAZE recommends confirming the exact project specification and using a qualified independent laboratory where required.
Frequently Asked Questions
What Is the Best Way to Test Reflective Sheeting Adhesion?
Apply conditioned strips to the actual cleaned substrate using controlled pressure, allow a defined dwell time, and then perform a documented 90-degree or 180-degree peel test. For traffic sheeting, also use the static-load method required by the applicable specification. Record both the force or peel distance and the failure interface.
How Long Should Reflective Sheeting Cure Before an Adhesion Test?
There is no universal dwell time. Initial, 24-hour and 72-hour checks are useful for comparison, but the product specification or agreed test method should control the official measurement time.
How Is Reflective Sheeting Shrinkage Measured?
Condition a liner-backed square, measure it, remove the liner without stretching the film, place it adhesive-side up on a flat surface and remeasure at specified intervals. A common traffic-sheeting format uses a 9 × 9 in. specimen with measurements at 10 minutes and 24 hours.
What Shrinkage Limit Is Acceptable for Reflective Sheeting?
The acceptable limit depends on the product and project. D4956-derived traffic specifications commonly cite limits of 0.8 mm at 10 minutes and 3.2 mm at 24 hours, but commercial PVC, PET, acrylic and specialty constructions must be judged against their own specification and intended use.
Is a Peel Test the Same as an Adhesion Test?
A peel test is one type of adhesion test. It measures the force needed to remove the material at a defined angle and speed. Static-load, edge-lift, shear and environmental adhesion tests answer different performance questions.
Which Accelerated Weathering Test Is Better: Xenon Arc or Fluorescent UV?
Neither is universally better. Xenon arc provides a closer simulation of full-spectrum sunlight and is often valuable for color and overall sunlight effects. Fluorescent UV is efficient for comparative UV and condensation screening. Use the method required by the product or project specification.
Does 1,000 Hours of UV Testing Equal a Specific Number of Outdoor Years?
No. There is no universal hours-to-years conversion. Test severity and field performance depend on light spectrum, irradiance, temperature, moisture, geography, specimen orientation and material chemistry. Accelerated results are strongest when compared with controls and correlated field history.
Should Weathering Be Tested Before or After Printing?
Test both when the product will be printed. The unprinted control shows base-material performance, while the finished specimen reveals whether ink, curing, hot stamping or overlaminating changes color, adhesion, cracking or retroreflectivity.
Can One Test Report Represent Every Color and Adhesive?
Not automatically. Color, face film, adhesive, liner and surface treatment can change performance. Confirm that the report matches the exact product code, color and construction being purchased.
What Information Should Appear in a Reflective Sheeting Test Report?
Include product code, color, lot and roll numbers, specimen location, substrate, cleaning and application method, conditioning, equipment, standard edition, test variables, individual results, average and minimum, failure mode, photographs and pass/fail decision.
Conclusion
A dependable reflective sheeting test does more than pull a sample from a panel or leave it in the sun.
Adhesion must be measured on a controlled and relevant substrate. Shrinkage must be checked in both machine and cross directions at defined intervals. Weather resistance must be evaluated with a documented exposure cycle and before-and-after measurements of retroreflectivity, color, surface integrity, adhesion and dimensional stability.
Most importantly, the three tests should be connected. A material that passes initial adhesion but shrinks under heat or loses bond after moisture has not passed the complete application requirement.
If you are evaluating reflective sheeting for a new project, contact Changzhou Zhenghe New Material Technology Co., Ltd. / ABLAZE with your substrate, printing method, service environment, required standard, color, roll size and quantity. Our team can help recommend a suitable construction and prepare samples for application-specific evaluation before a bulk order.
RELATED NEWS

Sun, Sand and a 50°C Container: Getting Reflective Sheeting Through a Hot Climate
In hot regions, reflective sheeting can start ageing before it reaches the sign shop. UV, heat, dust and humidity each attack a different part of the product, and each needs its own defence.Picture a distributor in a hot coastal city who receives a container of prismatic sheeting in midsummer. It si
