


Use reflective sheeting that is approved for your eco-solvent ink system, select a media profile for the actual printer and material, and allow the print to outgas before laminating. For many conventional eco-solvent workflows, 24 hours is a planning minimum and 48–72 hours may be preferable, especially with heavy ink coverage. These are not universal cure times: follow the sheeting, ink and laminate manufacturers’ instructions, then verify the finished graphic under both daylight and nighttime illumination.
A reflective print has two jobs. It must reproduce the intended graphic in daylight, and it must still return enough light toward the viewer at night. A print can look sharp on the production table yet show poor nighttime visibility, trapped-solvent bubbles or lifting laminate after installation.
This guide explains how sign makers can control those risks, from selecting a printable reflective film through final inspection.
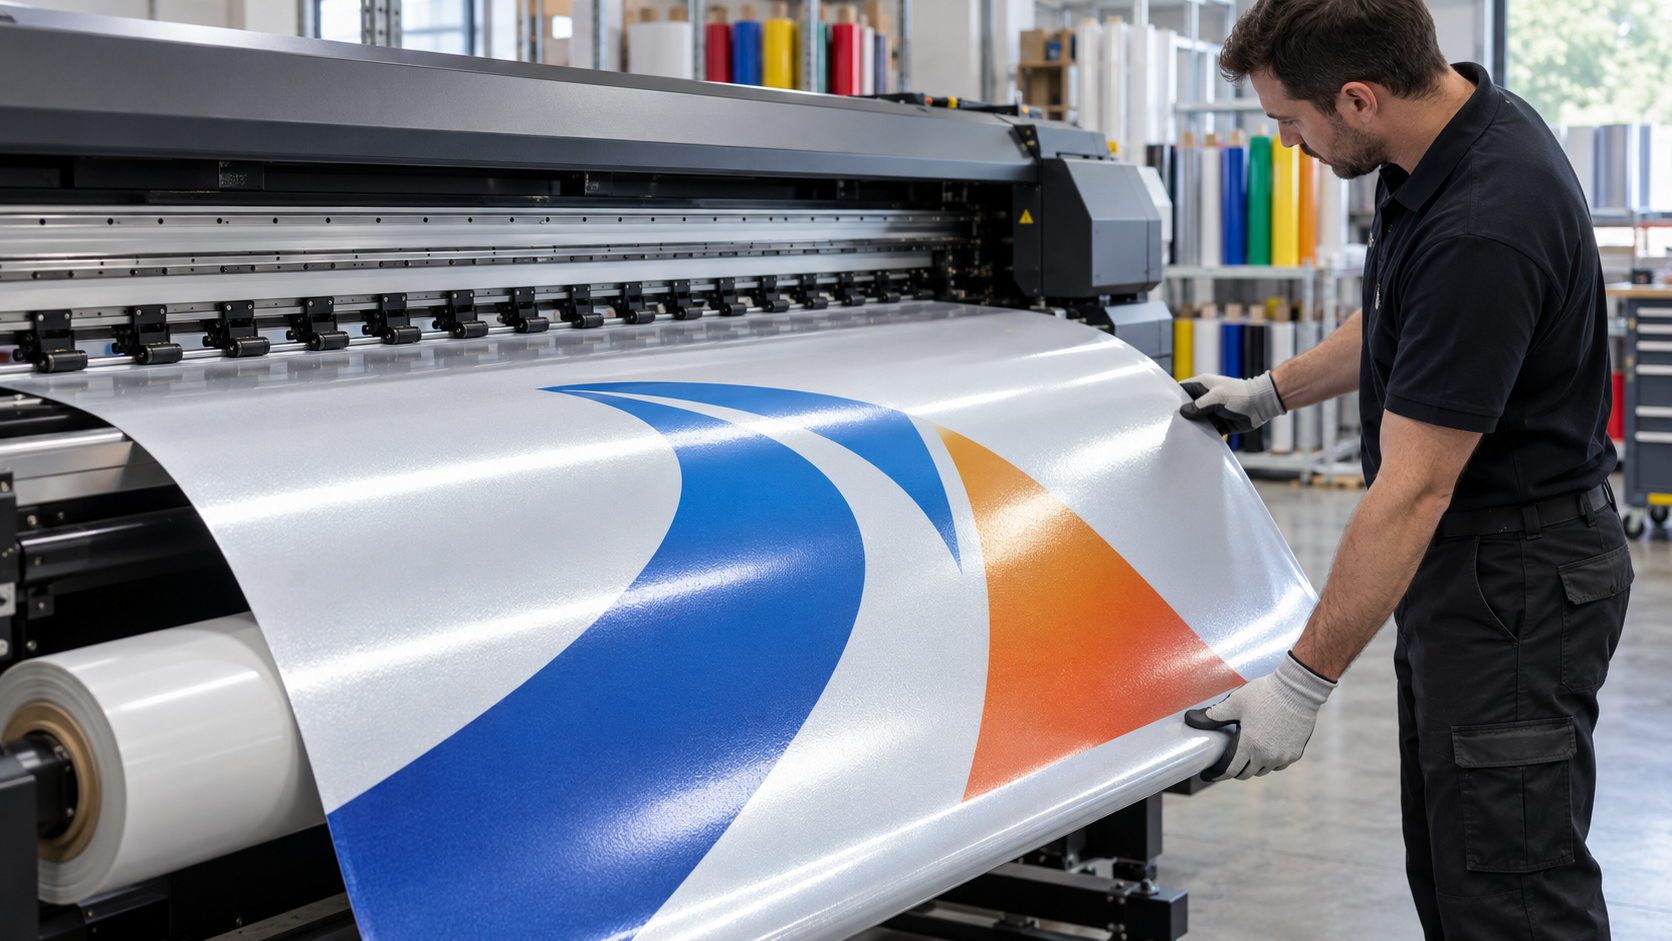
1. Confirm That the Reflective Sheeting Is Eco-Solvent Printable
“Reflective” does not automatically mean “printable,” and “digitally printable” does not automatically mean compatible with every ink system. Confirm the exact sheeting model and its approved printing methods before loading a production roll.
Check the product documentation for:
Eco-solvent ink compatibility
Recommended printer and ink combinations
Available media profiles or starting settings
Surface preparation and handling instructions
Approved overlaminate or clear-coat options
Intended application and any required performance standard
For commercial signs, decals and promotional graphics, ABLAZE printable PVC reflective vinyl is an eco-solvent-compatible product option from Changzhou Zhenghe New Material Technology Co., Ltd. Its suitability for a particular job should still be checked against the printer, ink, application surface and required service life.
For a broader comparison of printable materials and applications, see our printable reflective sheeting buying guide.
Traffic sign projects need an additional check. A commercial printable film should not be substituted for a specified traffic sign sheeting grade. Confirm the required sheeting, ink and overlay combination against the project specification before production.
2. Prepare the Roll and Printer Before the First Test Print
Poor print results can begin before ink reaches the film. Bring the material into the print room according to its product instructions, and inspect the roll for damage, liner wrinkles or surface contamination.
Handle the printable face carefully. Fingerprints, dust and abrasion can create visible defects or reduce ink adhesion. Keep the media path clean, load the roll squarely and confirm that feed tension is suitable for the material. If a roll has been stored improperly, correct storage and conditioning should come before profile adjustments. Our reflective sheeting storage guide covers the common handling risks.
Start with a small test that includes fine text, solid colors, gradients and the heaviest ink coverage expected in the final artwork. Check for banding, bleeding, uneven color and visible changes to the film surface before committing to the full run.
3. Use a Media Profile for the Actual Printing Combination
An ICC profile helps control color reproduction, but the complete RIP media setup matters just as much. The correct setup depends on the sheeting, printer, ink set, RIP, print mode and resolution. It may also include heater, vacuum and ink-limit settings.
A generic white-vinyl profile can be useful for an initial trial when no dedicated profile exists. It should not be treated as a validated production profile for reflective sheeting. The film’s surface and optical structure can change how printed colors appear, while excessive ink can lengthen drying time and increase the chance of lamination problems.
For a new material, use this sequence:
Obtain the material supplier’s recommended profile or starting settings, if available.
Print a target on the actual reflective sheeting with the intended ink and print mode.
Check fine detail, solid fills, ink adhesion and surface condition.
Adjust ink limits and media settings where the results show a clear need.
Reprint and assess the color after the full finishing process.
Do not judge a traffic or safety graphic by a daytime color match alone. Printed ink and a clear overlay both sit in the path of light entering and leaving the reflective layer. For specified signs, evaluate the finished printed and laminated construction against the required daytime color, nighttime color and retroreflectivity criteria. Our article on printing without compromising nighttime performance explains this distinction in more detail.
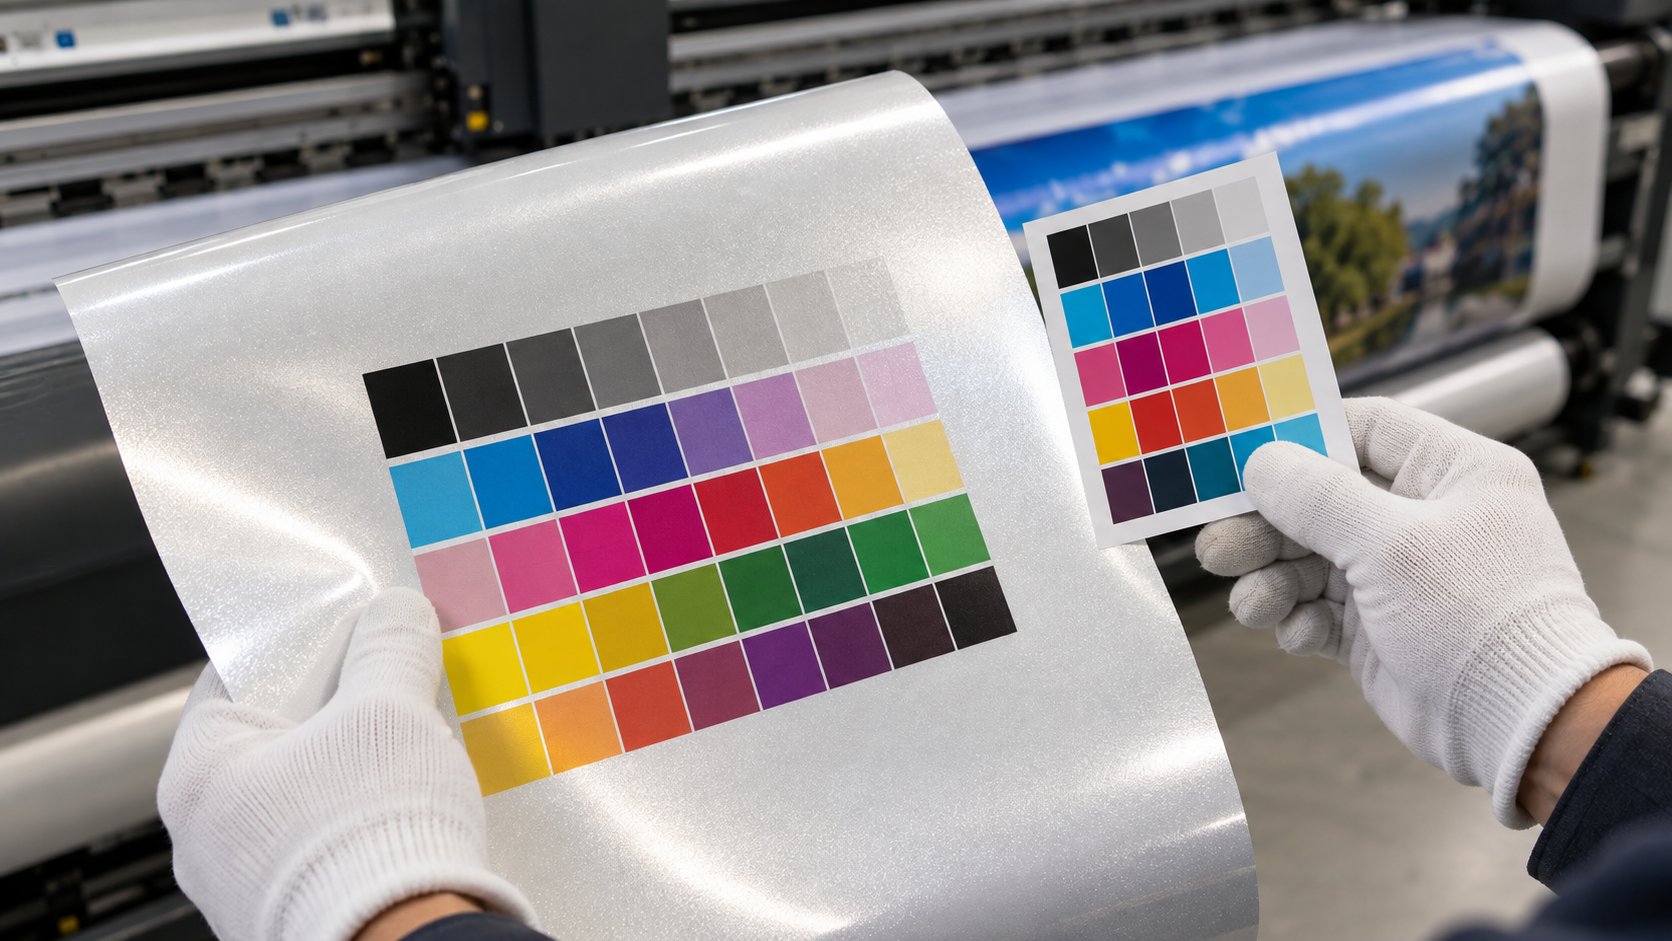
4. Understand Drying Versus Outgassing
A print may feel dry to the touch while solvent remains in the ink and film. Outgassing is the continued release of that residual solvent. Applying an overlaminate too early can trap it beneath the film.
Possible results include:
Bubbles or haze beneath the laminate
Lifting or weak laminate adhesion
Edge curling or dimensional change
Reduced adhesion after the graphic is applied
Drying time changes with ink coverage, media construction, airflow, temperature, humidity and how the print is stored. Dark solid areas often need more time than lightly printed graphics.
As a practical production allowance, many conventional eco-solvent jobs are held for at least 24 hours before lamination, with 48–72 hours considered for heavier prints or slower drying conditions. ORAFOL, for example, identifies 24 hours at 70°F (about 21°C) as a minimum for its stated procedure and says 48–72 hours is preferred. That guidance applies to its products and process; it is not a guaranteed cure schedule for every reflective film.
Some coordinated printer, ink and sheeting systems specify faster processing. Follow the instructions for the exact qualified system rather than transferring its timing to another material.
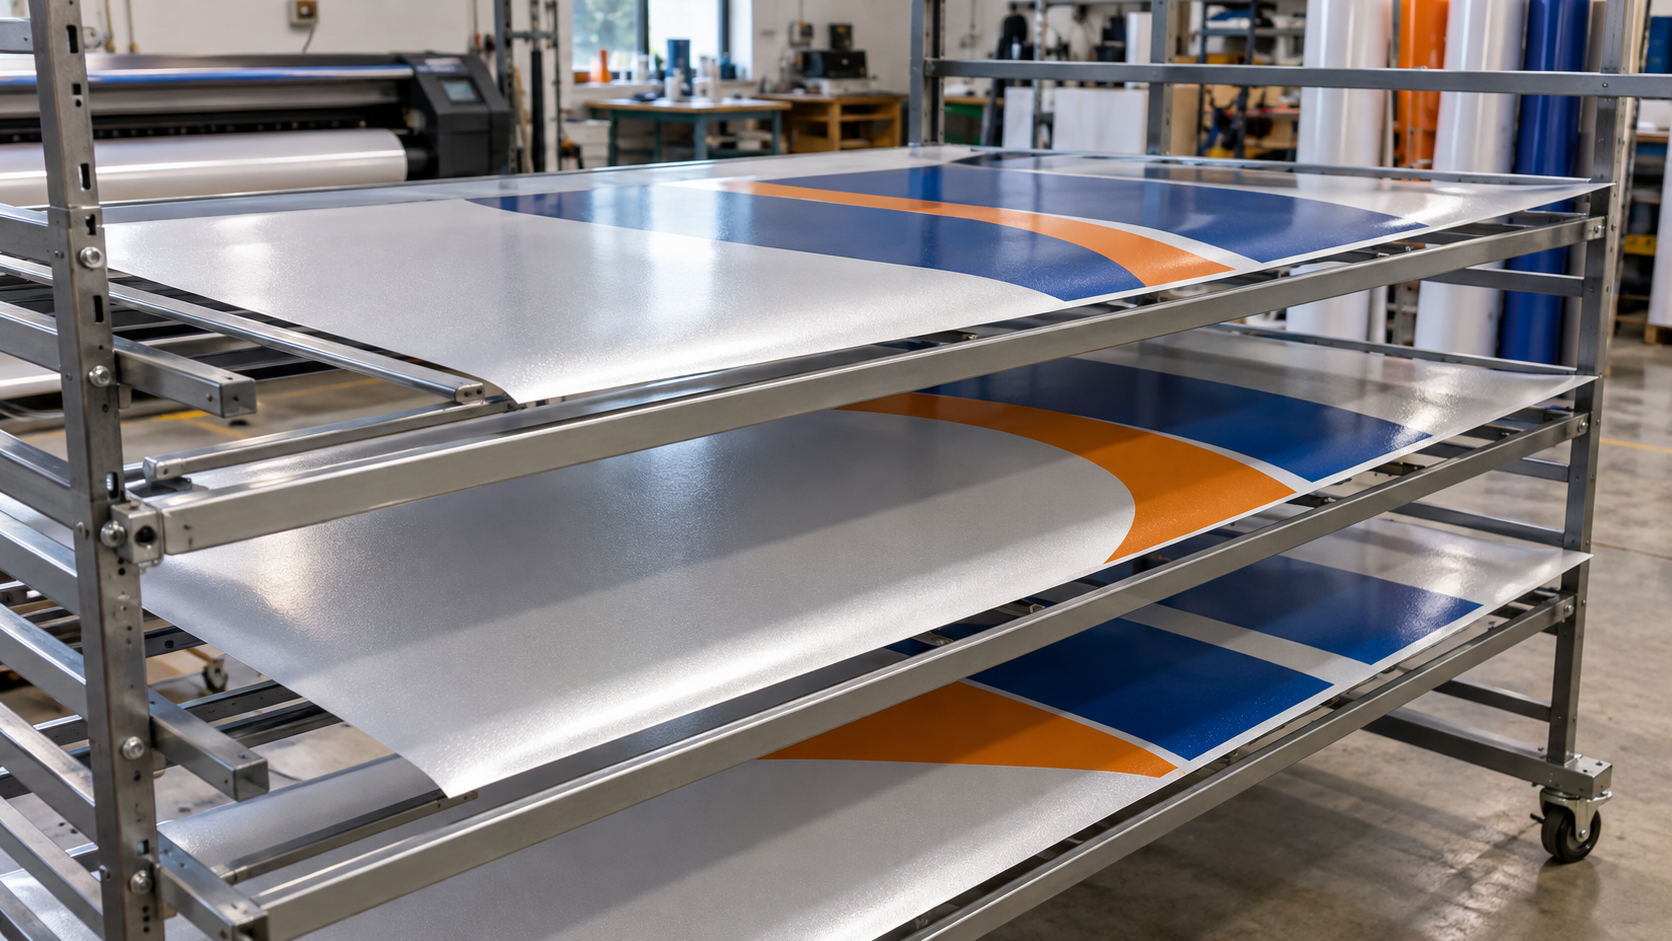
5. Let Solvent Escape While the Print Waits
The waiting period only helps if vapor can leave the printed surface. Do not immediately wind a fresh eco-solvent print tightly into a roll or seal it under another film.
Use the drying arrangement recommended for the media and available production space. The aim is to provide air circulation around the printed surface without introducing dust or damaging the graphic. If prints must remain on a core, avoid tight winding and follow the media supplier’s instructions for spacing and handling.
A touch or odor check may reveal an obviously under-dried print, but it cannot prove that all residual solvent has left the film. For a new printer, ink or sheeting combination, establish a documented hold time through trial prints and follow-up checks after lamination.
6. Choose a Compatible Overlaminate
Lamination can protect a printed graphic from handling damage, abrasion and weather exposure, but an arbitrary clear film may change its appearance or cause adhesion problems. Select an overlaminate approved or tested for the reflective sheeting and intended application.
Check:
Compatibility with the printed face and ink system
Optical clarity and its effect on retroreflectivity
Required gloss or surface finish
Outdoor durability appropriate to the job
Adhesive performance and edge behavior
Any project or warranty requirement for a matched material system
For regulated traffic signs, the specified sheeting, ink and overlay should be treated as a qualified construction. Whether lamination is required depends on that construction and its specification. For commercial graphics, test the proposed laminate on the actual print before a large production run.
Allow adequate outgassing first. Then set laminator speed, pressure and temperature according to the laminate and equipment instructions. Inspect the first finished section for silvering, bubbles, wrinkles and edge lift before continuing.
7. Inspect the Finished Graphic in Daylight and at Night
A successful test print is not the same as a successful finished sign. Keep an unprinted sample from the same sheeting roll and compare it with printed and laminated samples.
A useful production check covers:
Check | What to look for |
|---|---|
Daylight appearance | Correct color, readable detail, even solids and clean edges |
Print adhesion | No ink lifting during the test method recommended for the material |
Lamination | No persistent bubbles, haze, wrinkles or edge lift |
Nighttime appearance | Legible graphic and appropriate light return under a representative light source |
Specified performance | Required color and retroreflectivity measurements on the finished construction, where the project calls for them |
A flashlight check can reveal obvious dark or uneven areas. It does not replace instrument testing when a contract or traffic sign standard specifies measured performance. Before accepting a regulated job, review the relevant values and test conditions in the reflective sheeting technical data sheet.
Common Eco-Solvent Printing Problems and Their Likely Causes
The print looks good, but the laminate bubbles later
Residual solvent may have been trapped beneath the laminate. Review ink load, drying conditions and the time between printing and lamination. Also check laminate application and adhesion; bubbles do not have only one possible cause.
Colors are dull or inconsistent across the roll
Confirm that the correct media profile and print mode were used. Check nozzle condition, ink limits, roll consistency and whether the comparison was made before or after lamination.
The graphic looks bright in daylight but dark at night
Heavy or opaque ink coverage can block the path of light through the reflective layer. Review the artwork and ink system, then assess the finished construction at night. A daytime proof alone cannot establish nighttime performance.
Edges lift after installation
Investigate outgassing, laminate compatibility, trimming, application surface preparation and installation conditions. Inspect the printed and laminated sample before attributing the problem to one material layer.
A Practical Production Checklist
Before releasing an eco-solvent reflective print, confirm that:
The exact sheeting model is approved for the ink system.
A suitable media profile or tested RIP setup is in use.
The actual artwork has passed a small production trial.
Printed material has been allowed to outgas under appropriate conditions.
The overlaminate is compatible with the printed reflective film.
The finished graphic has been checked in daylight and under nighttime illumination.
Any required color, durability and retroreflectivity tests have been performed on the finished construction.
The key production rule is simple: qualify the whole system—sheeting, ink, profile, drying process and laminate—before committing to a large run.
Frequently Asked Questions
How long should eco-solvent prints on reflective sheeting dry before lamination?
There is no single time that fits every material and print. For many conventional workflows, plan on at least 24 hours and consider 48–72 hours for heavy ink coverage or slower drying conditions. Follow the exact product instructions and validate the timing with a production trial.
Can I use my normal vinyl ICC profile for reflective sheeting?
Use it only as an initial test if no suitable profile is available. A profile built for a different film may produce inaccurate color or unsuitable ink limits. Test the actual reflective material, ink set and RIP mode before production.
Does every eco-solvent-printed reflective graphic need lamination?
No universal rule applies. The decision depends on the sheeting system, end use and customer specification. Many outdoor digitally printed applications benefit from a compatible protective overlay, while specified traffic sign systems may require a particular overlay.
Does a clear laminate preserve the original reflectivity?
Do not assume so. Ink and laminate can both affect the amount and color of light returned. Where nighttime performance matters, check the finished construction; where a standard applies, measure it using the required method.
Can ABLAZE help select material for my printer?
Yes. Share your printer model, ink set, intended graphic, application, expected service life and any applicable standard with Changzhou Zhenghe New Material Technology Co., Ltd. The ABLAZE team can help identify a suitable reflective sheeting option and the information needed for a production trial. Start with our eco-solvent-compatible PVC reflective vinyl for commercial graphic applications, or explore ABLAZE reflective materials for advertising and signage.
Planning a reflective print job? Send ABLAZE your printer and ink details, artwork coverage, target application and roll requirements through our website. Testing the intended material combination before bulk production is the most reliable way to establish color, outgassing time and lamination performance.
RELATED NEWS

Traffic Sign Retroreflectivity: ASTM E1709 Field Guide | ABLAZE
Quick answer: Use a portable sign retroreflectometer with the specified measurement geometry, take multiple readings from each retroreflective color, and compare the results with the applicable minimum maintained retroreflectivity levels. For U.S. traffic signs, the key reference is Section 2A.22 an

Eco-Solvent Printing on Reflective Sheeting: Drying & Lamination
Eco-Solvent Printing on Reflective Sheeting: Drying, Outgassing, Color Profiles and LaminationQuick answer: Use reflective sheeting that is approved for your eco-solvent ink system, select a media profile for the actual printer and material, and allow the print to outgas before laminating. For many