


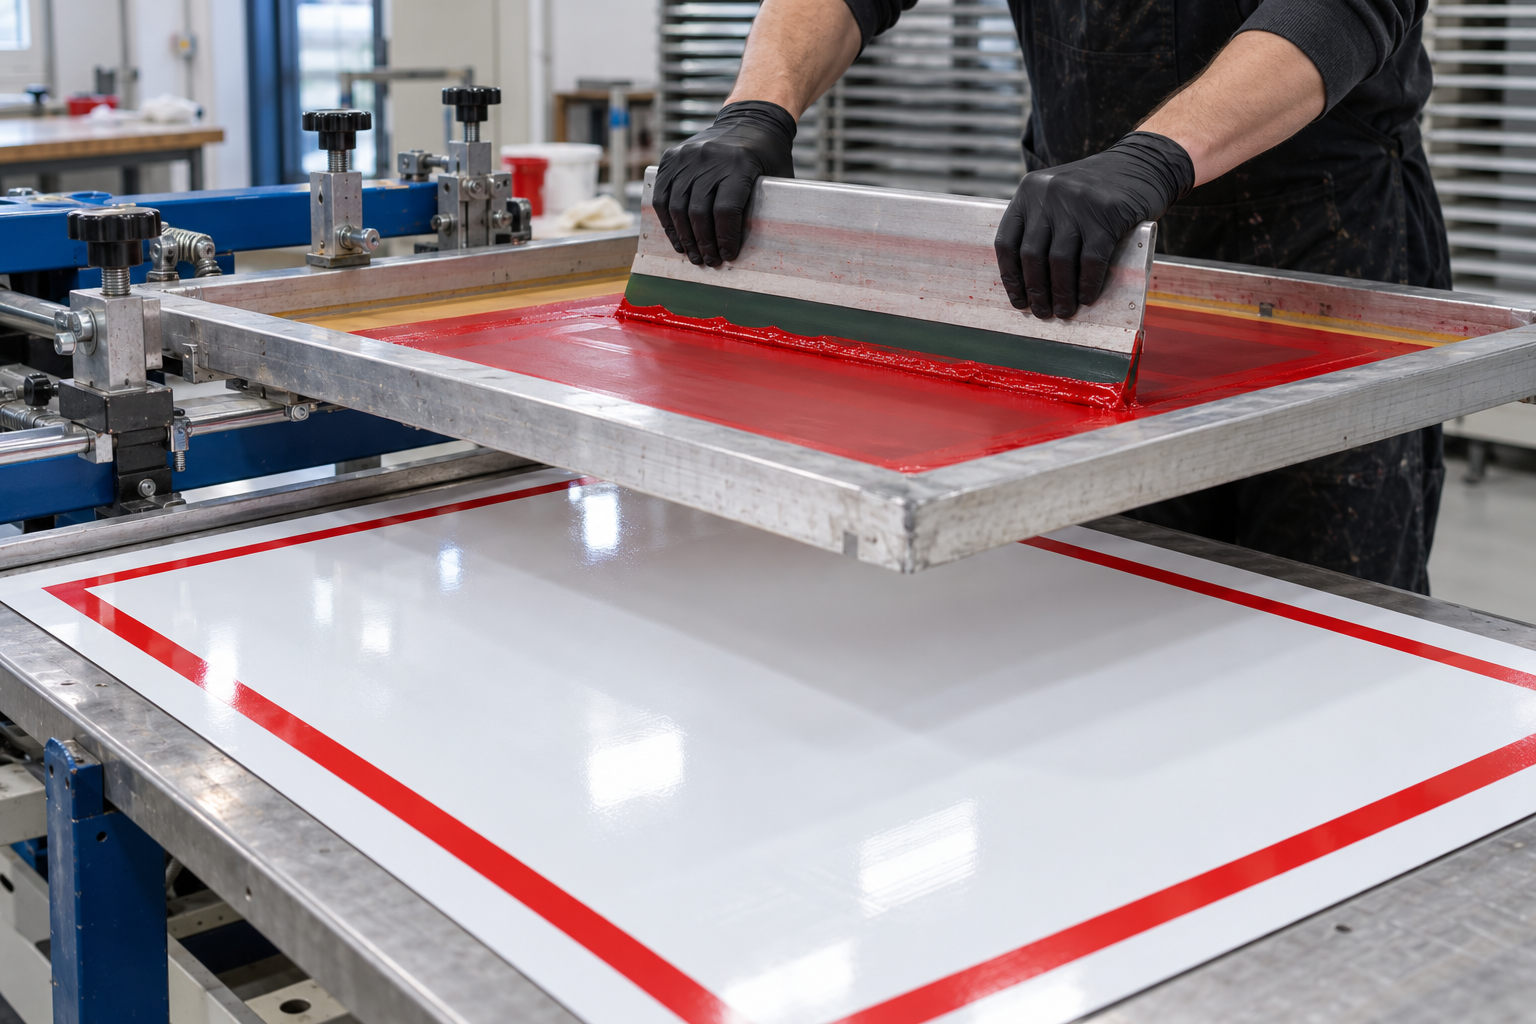
Screen printing on reflective sheeting requires a compatible ink, controlled ink deposit, suitable drying or curing conditions, and testing of the finished print. Transparent process colors are generally used where the printed area must remain reflective, while opaque black can create contrasting lettering and symbols.
Before starting production, confirm the exact sheeting and ink combination, specify mesh units clearly, and evaluate ink adhesion, daytime color and retroreflectivity.
At Changzhou Zhenghe New Material Technology Co., Ltd., our ABLAZE brand supplies reflective sheeting for signage and identification applications. This guide explains how to approach ink selection, screen preparation, curing control and sample approval.
Can You Screen Print on Reflective Sheeting?
Yes, when the specific reflective sheeting surface is compatible with the selected screen ink. A product described as “printable” is not automatically suitable for every printing process.
Screen printing on reflective sheeting is different from printing reflective ink onto textiles. In reflective sheeting, the glass beads or microprisms are already inside the material. The screen-printed ink forms the image on its outer surface.
A successful printing process depends on several connected factors:
Reflective sheeting and printable surface.
Ink formulation and color.
Mesh and stencil construction.
Ink deposit and press settings.
Drying or curing conditions.
Finished-product requirements.
For traffic-sign applications, see our screen printing guide for reflective traffic signs.
Which Screen Printing Ink Should You Choose?
Choose an ink confirmed as compatible with the exact reflective sheeting product. Descriptions such as “PET ink,” “vinyl ink” or “outdoor ink” do not establish suitability by themselves.
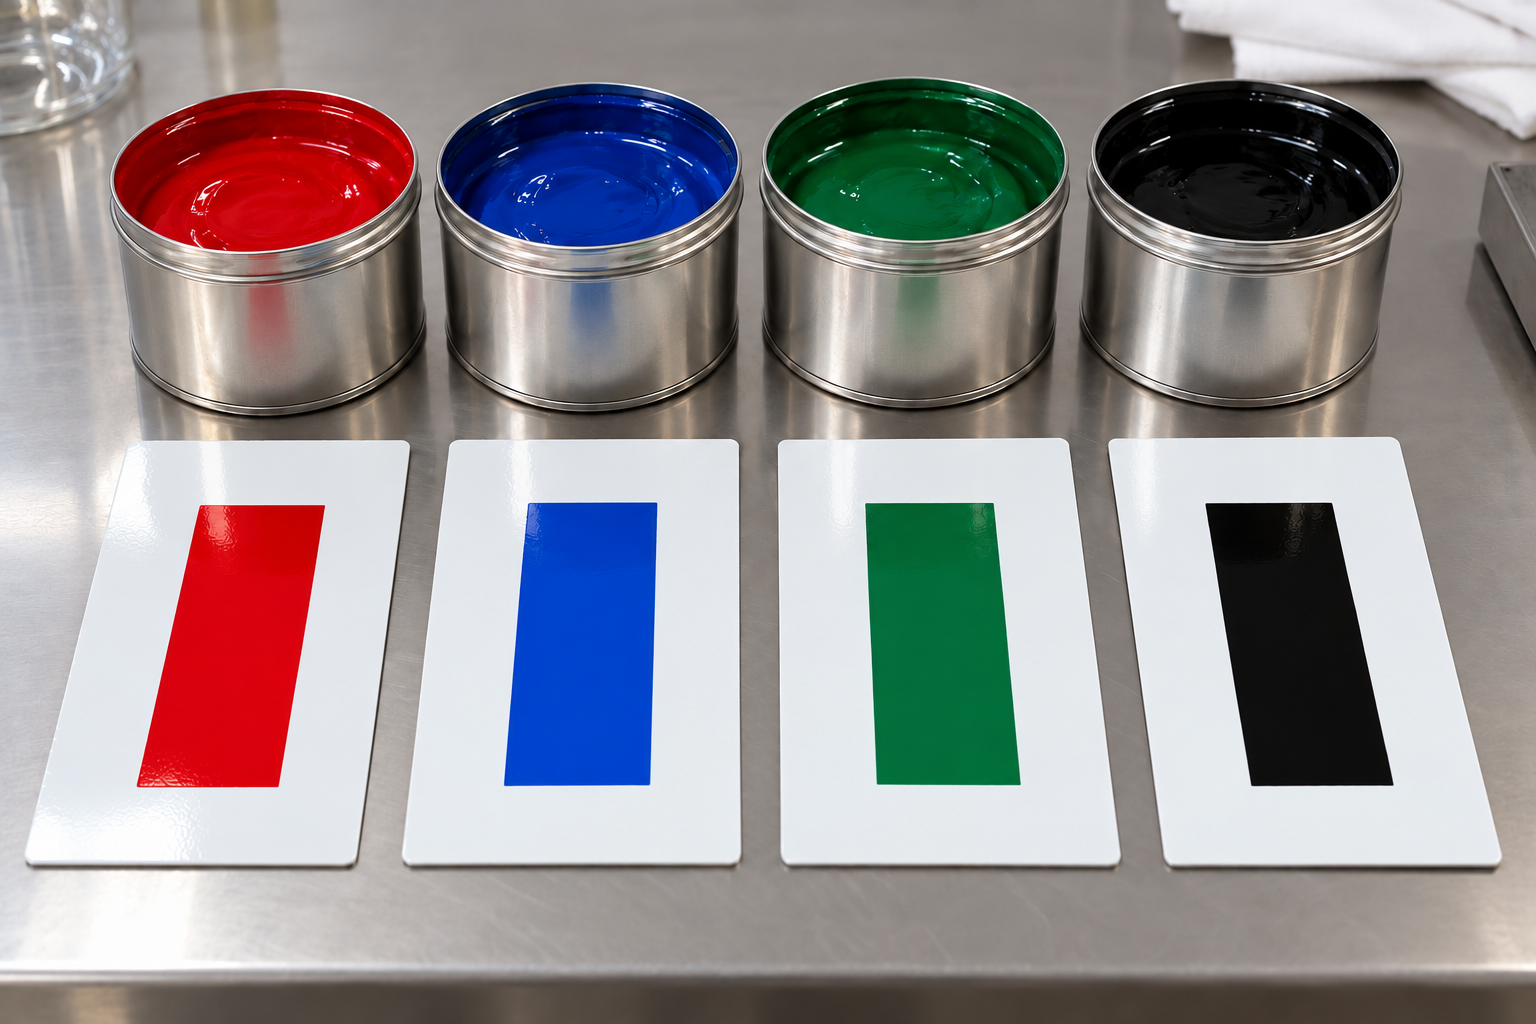
Transparent Colors vs Opaque Ink
Use compatible transparent process colors when the printed area needs to remain reflective. These inks allow light to pass through the colored layer and interact with the reflective structure beneath it.
Opaque black can provide non-reflective lettering or symbols where the design requires contrast. Avoid opaque inks across areas that must retain reflective performance unless the finished construction has been specifically qualified.
An opaque white underbase can block the reflective effect beneath a colored image. A printing technique used on ordinary vinyl may therefore produce a different result on reflective sheeting.
Transparent ink still changes optical performance. Its color and deposited thickness affect the finished print, so transparency alone does not guarantee sufficient nighttime visibility.
Solvent-Based vs UV-Curable Screen Ink
Ink system | What to confirm before testing | Production records to keep |
|---|---|---|
Solvent-based screen ink | Approved surface, permitted thinner and drying instructions | Mixing ratio, thinner additions, airflow, drying time and temperature |
UV-curable screen ink | Approved surface, lamp technology and specified curing conditions | UV dose, irradiance where specified, belt speed and sheet temperature |
Two-component ink, if approved | Mixing ratio, pot life and curing schedule | Mixing time, expiry of mixed ink and test timing |
Provide the ink supplier with the reflective sheeting product code, intended application and production equipment. Obtain the relevant technical data sheet before establishing press settings.
Use only approved additives and mixing ratios. An unapproved thinner, hardener or adhesion promoter introduces another variable that requires evaluation.
UV Screen Printing Is Different from UV Inkjet Printing
Approval for UV screen printing does not establish approval for UV digital inkjet printing. Ink formulations, deposited thicknesses and curing arrangements can differ.
For digital printing considerations, read our UV printing and ink adhesion guide.
How Do PET, PVC and Acrylic Surfaces Affect Ink Selection?
Ink contacts the outermost coating or face film. Polymer names help describe a reflective product, but they do not replace a product-specific compatibility statement.
Product category | Main question for the printing trial |
|---|---|
PET reflective sheeting | Is this exact surface compatible with the proposed screen ink? |
PVC reflective sheeting | Does adhesion remain acceptable after the intended handling and flexing? |
Acrylic reflective sheeting | Is the ink compatible with the surface and any subsequent forming? |
Microprismatic reflective sheeting | Does the specified ink system preserve required color and angular retroreflectivity? |
PET, PVC and acrylic describe polymers. Microprismatic describes an optical structure. These are not four mutually exclusive material types.
For flat signage projects, explore ABLAZE engineering-grade PET reflective sheeting. For suitable commercial printing applications, see ABLAZE acrylic glass-bead reflective sheeting.
Confirm the exact ink combination and finished-sign requirements before selecting a product for production.
What Mesh Count Should You Use for Reflective Sheeting?
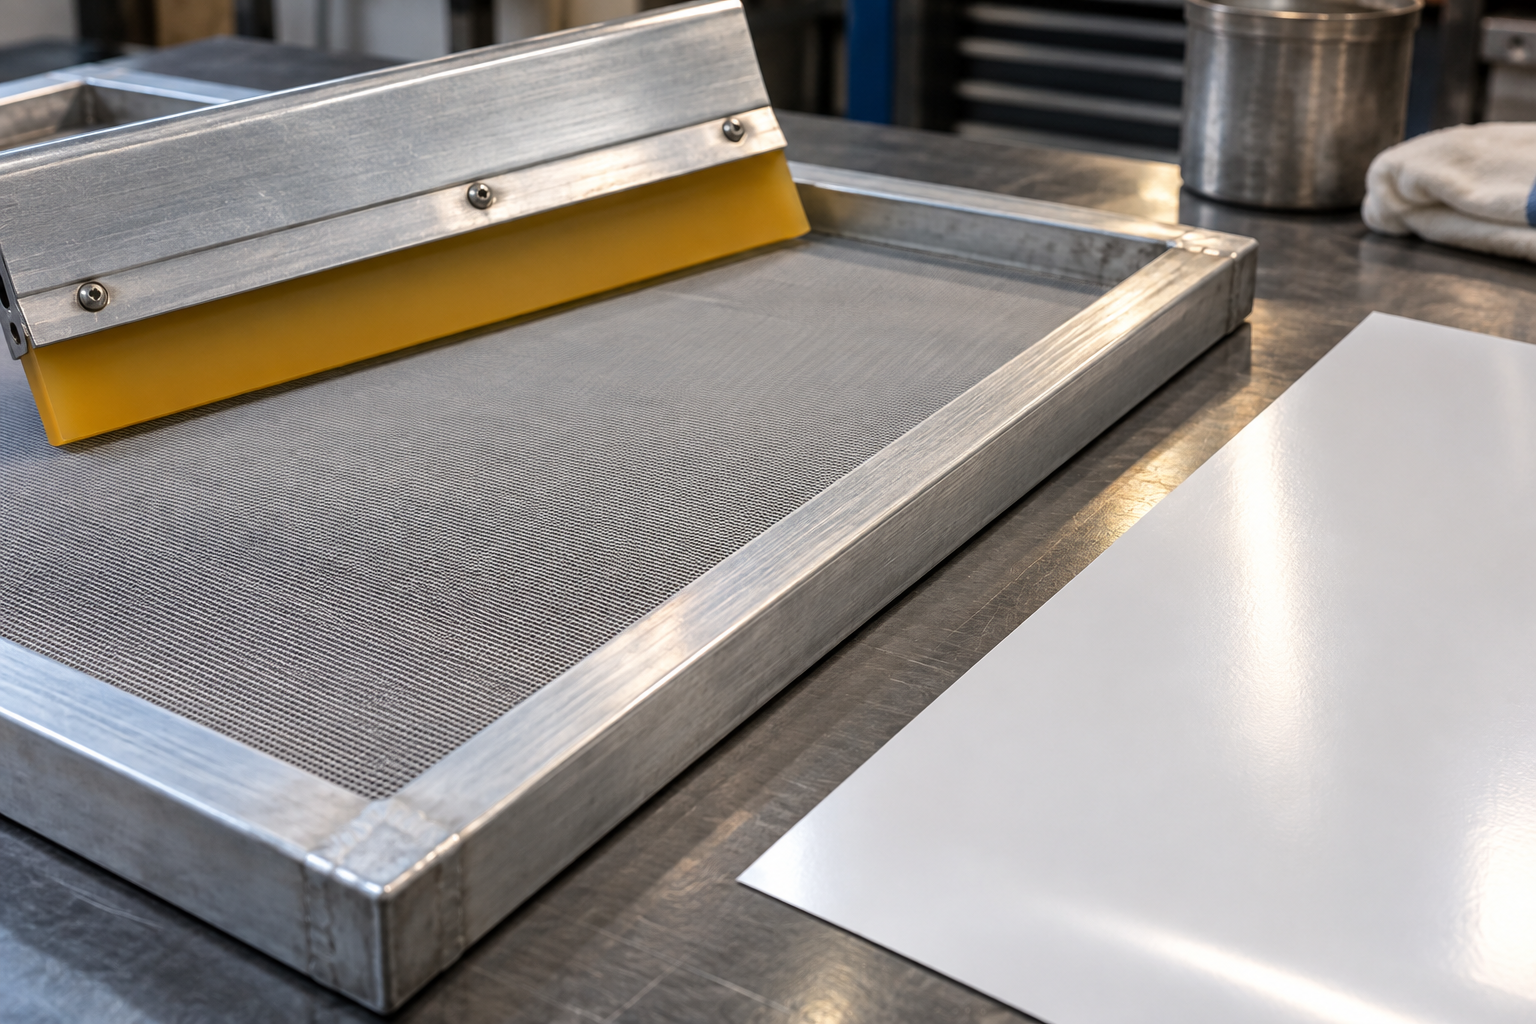
There is no universal mesh count for all reflective sheeting inks. Start with the specification for the selected ink-and-sheeting system.
Always Specify the Mesh Unit
“120 mesh” is ambiguous unless the unit is stated. Screen suppliers may describe mesh in threads per inch or threads per centimeter.
Threads per inch = threads per centimeter × 2.54
Threads per inch | Approximate threads per centimeter |
|---|---|
157 | 62 |
200 | 79 |
230 | 91 |
305 | 120 |
These figures are unit conversions, not recommended production settings for ABLAZE products.
For example, 120 threads/cm is approximately 305 threads/inch. It is substantially different from 120 threads/inch. Confusing these specifications can change ink transfer and the resulting print.
Record More Than Mesh Count
Mesh count alone does not fully describe a screen. Also record:
Thread diameter.
Weave.
Mesh opening.
Screen tension.
Stencil thickness.
Mesh and stencil condition.
Two screens with the same nominal mesh count may deposit different amounts of ink.
An excessively heavy deposit can affect drying, curing, color and retroreflectivity. An insufficient deposit may produce weak color or incomplete coverage.
The objective is a consistent ink deposit that meets the finished-product requirements.
Preserve the Approved Screen Specification
Once the trial passes, retain the complete screen specification with the approved sample.
If mesh, thread diameter or stencil thickness changes, verify the print again. A replacement screen should not be considered equivalent solely because its mesh count matches.
How Should You Prepare the Sheeting and Press?
Prepare a clean, stable printing setup and follow the sheeting and ink suppliers’ processing instructions.
A practical preparation checklist includes:
Record the sheeting product code, color and batch number.
Allow stock and ink to stabilize under the specified workshop conditions.
Inspect flatness and check for dust, fingerprints, moisture or surface damage.
Use only a cleaning method approved for the printable surface.
Check screen tension, stencil condition and mesh damage.
Record squeegee hardness, edge condition, angle, speed and pressure.
Print a trial containing solid areas, fine details and representative color overlaps.
Keep the printable surface intact. Sanding, aggressive solvent wiping or an unapproved primer should not become an improvised response to poor adhesion.
Check Release Liner Flatness
When printing unapplied sheeting, include liner flatness in the evaluation. Curl can interfere with feeding, positioning and consistent screen clearance.
Liner weight alone does not establish printing performance. Assess the actual material under the intended workshop and drying conditions.
Our 120 gsm vs 150 gsm release liner guide explains the factors to discuss with your supplier.
How Do You Control Drying and UV Curing?
Drying and curing conditions must match both the ink and the reflective sheeting. A surface that feels dry is not sufficient evidence that the finished print is ready for stacking or shipment.
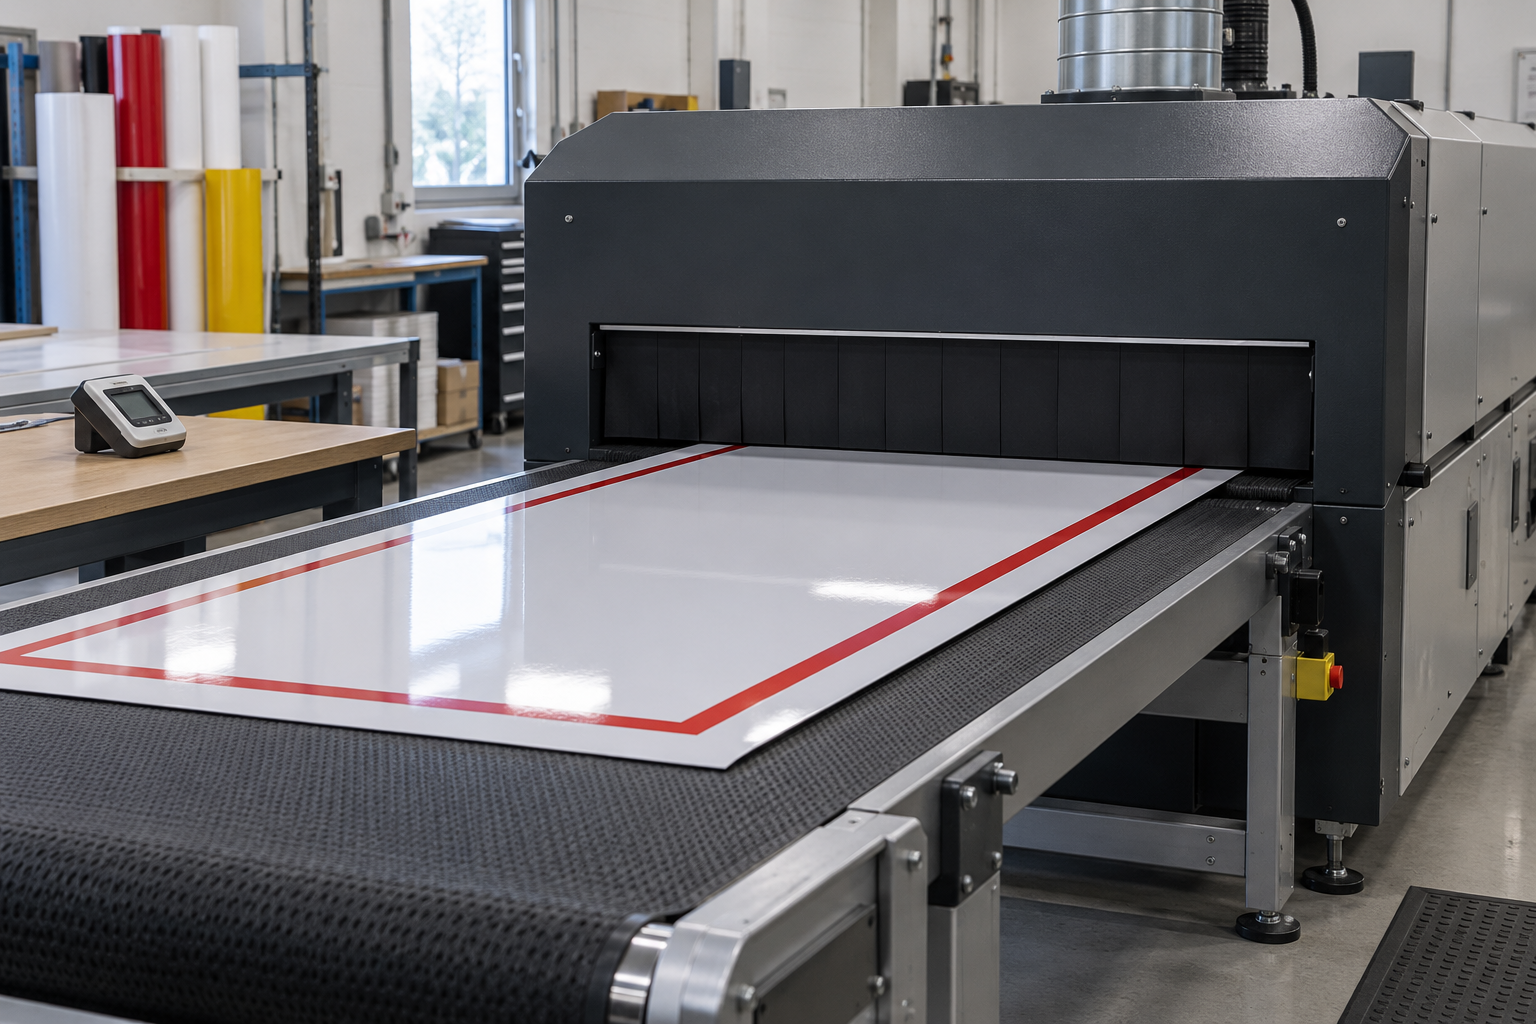
Solvent-Based Ink: Control Time, Temperature and Airflow
Follow the specified drying time, temperature and airflow together. Do not exceed the sheeting’s processing temperature limits to compensate for insufficient drying capacity.
Record the following:
Workshop temperature and humidity.
Ink and thinner additions.
Drying method.
Drying time and temperature.
Interval between colors.
Time before stacking or packaging.
For multicolor printing, follow the required drying interval before applying the next color. Include overlapping colors in the qualification trial.
Before packaging, check for blocking: unwanted sticking or ink transfer between contacting surfaces under representative storage conditions.
UV-Curable Ink: Measure Exposure and Sheet Temperature
UV dose, normally expressed in mJ/cm², measures energy per area. Irradiance, commonly expressed in mW/cm², measures incident power per area.
A lamp’s power setting alone does not describe the exposure reaching the printed surface.
Follow the ink supplier’s specified lamp technology and measurement conditions. Conventional UV and UV-LED systems are not automatically interchangeable.
Parameter | What to record |
|---|---|
Lamp system | Lamp type and specified wavelength range |
UV exposure | Measured dose and irradiance where required |
Conveyor | Belt speed |
Thermal conditions | Sheeting surface temperature |
Print construction | Color, number of layers and screen specification |
Test timing | Cooling and conditioning interval before evaluation |
Check representative positions across the production width, including the edges. A central sample alone may not reveal uneven curing.
If adhesion fails, investigate ink compatibility, contamination, ink deposit and curing conditions. Increasing exposure without identifying the cause may not resolve the problem.
How Should You Test Ink Adhesion?
Separate Ink Adhesion from Sheeting Adhesive Performance
Ink adhesion, intercoat adhesion and sheeting adhesive performance describe different bonds.
Property | Bond being evaluated |
|---|---|
Ink adhesion | Printed ink to the reflective sheeting face |
Intercoat adhesion | One printed layer or clear coat to another |
Sheeting adhesive performance | Back adhesive to the sign panel or other substrate |
Passing one test does not establish the performance of the other bonds.
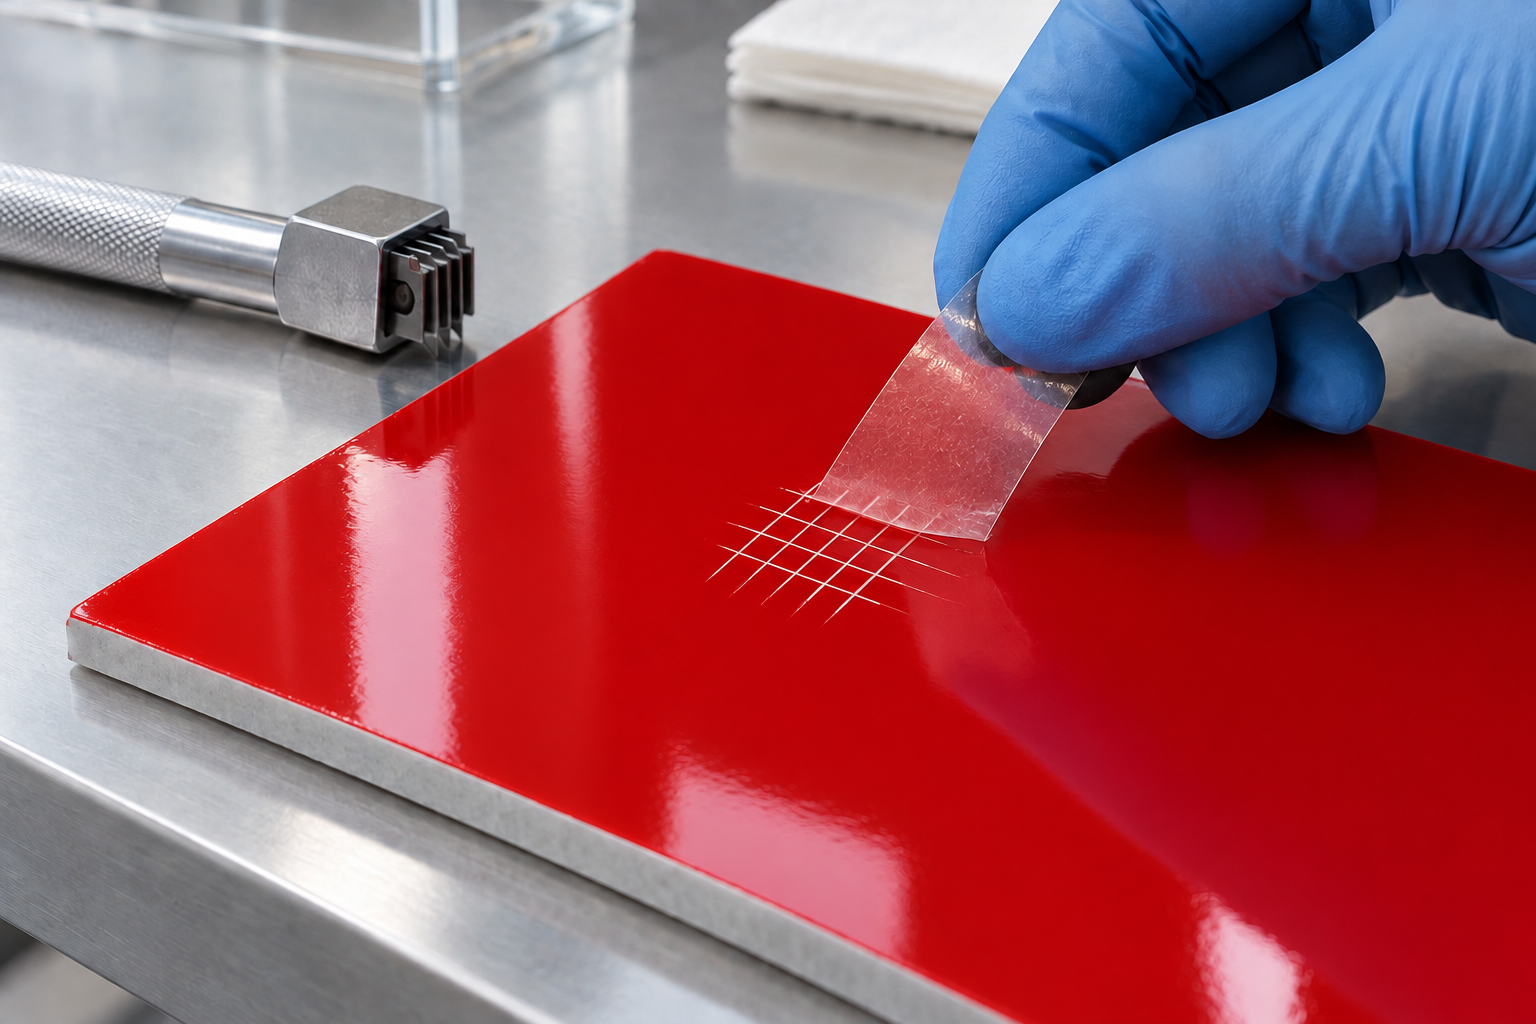
Agree on the Test Method Before Printing
ASTM D3359 is a tape-test standard whose primary scope concerns coatings on metallic substrates. Its guidance acknowledges use on plastics, with limitations and agreement needed between the parties.
ASTM D3359 and ISO 2409 are not technically equivalent. Their methods and ratings should not be used interchangeably.
For ink printed on a reflective polymer face, agree on the test method and document any adaptations. An informal tape pull should not be reported as certified compliance with either standard.
Use a Repeatable Test Record
The following is a proposed record structure, not a replacement for a test standard.
Record | Required detail |
|---|---|
Sample identity | Sheeting code, batch, ink series, color and ink batch |
Conditioning | Time since printing, temperature and humidity |
Cutting procedure | Tool, spacing and controlled depth under the agreed method |
Tape procedure | Tape identification, application, dwell and removal method |
Inspection | Rating under the selected method, photographs and failure location |
Acceptance | Customer-agreed requirement and pass/fail decision |
For an ink-on-face test, control the cut through the ink without unnecessarily damaging the underlying sheeting.
Test representative solid colors, overlapping colors and any clear coating. Record whether the ink releases, a printed layer separates, or the sheeting itself tears. These outcomes require different investigations.
Define Acceptance Before Reviewing Results
The agreed test plan should identify:
Test method.
Required conditioning.
Sampling locations.
Acceptable rating or failure limit.
Additional exposure or converting requirements.
Responsibility for approving the result.
This helps prevent suppliers and buyers from using different procedures while describing both results as an “adhesion test.”
How Do You Check Reflectivity After Printing?
An adhesion pass does not establish optical performance.
Evaluate the finished printed system for daytime color and the coefficient of retroreflection, RA, at the required observation and entrance angles.
Retain an Unprinted Control
Keep an unprinted sample from the same sheeting batch. It helps identify changes associated with printing and processing.
However, printed red or blue should be assessed against its applicable finished-color requirement, rather than simply compared with the brightness of unprinted white.
The control supports investigation. It does not replace the finished-product specification.
Evaluate the Finished Construction
Where applicable, test the construction after all required printing, clear coating or lamination steps.
A flashlight or phone photograph can reveal obvious visual differences, but it does not establish compliance with a specified RA requirement.
For broader qualification planning, read our reflective sheeting testing guide.
Screen Printing Problems: What Should You Check First?
Use the following table as investigation prompts rather than automatic diagnoses.
Symptom | First checks |
|---|---|
Ink lifts during adhesion testing | Ink/surface compatibility, contamination, curing record and test timing |
Printed colors appear too dark at night | Ink transparency, ink deposit and finished-color RA results |
Printed sheets stick together | Drying or cure completion, cooling and stacking conditions |
Pinholes or incomplete solid areas | Screen condition, surface cleanliness and ink transfer |
Registration changes during production | Sheet flatness, press settings and screen tension |
Ink cracks after handling | Film/ink flexibility and the intended bending or forming process |
Clear coat releases from the print | Intercoat compatibility and curing schedule |
Results vary across the sheet | Ink deposit, press consistency and curing uniformity |
Change one controlled variable at a time and retain labeled samples. This makes results easier to interpret than changing ink, mesh and curing conditions simultaneously.
What Should You Approve Before a Bulk Order?
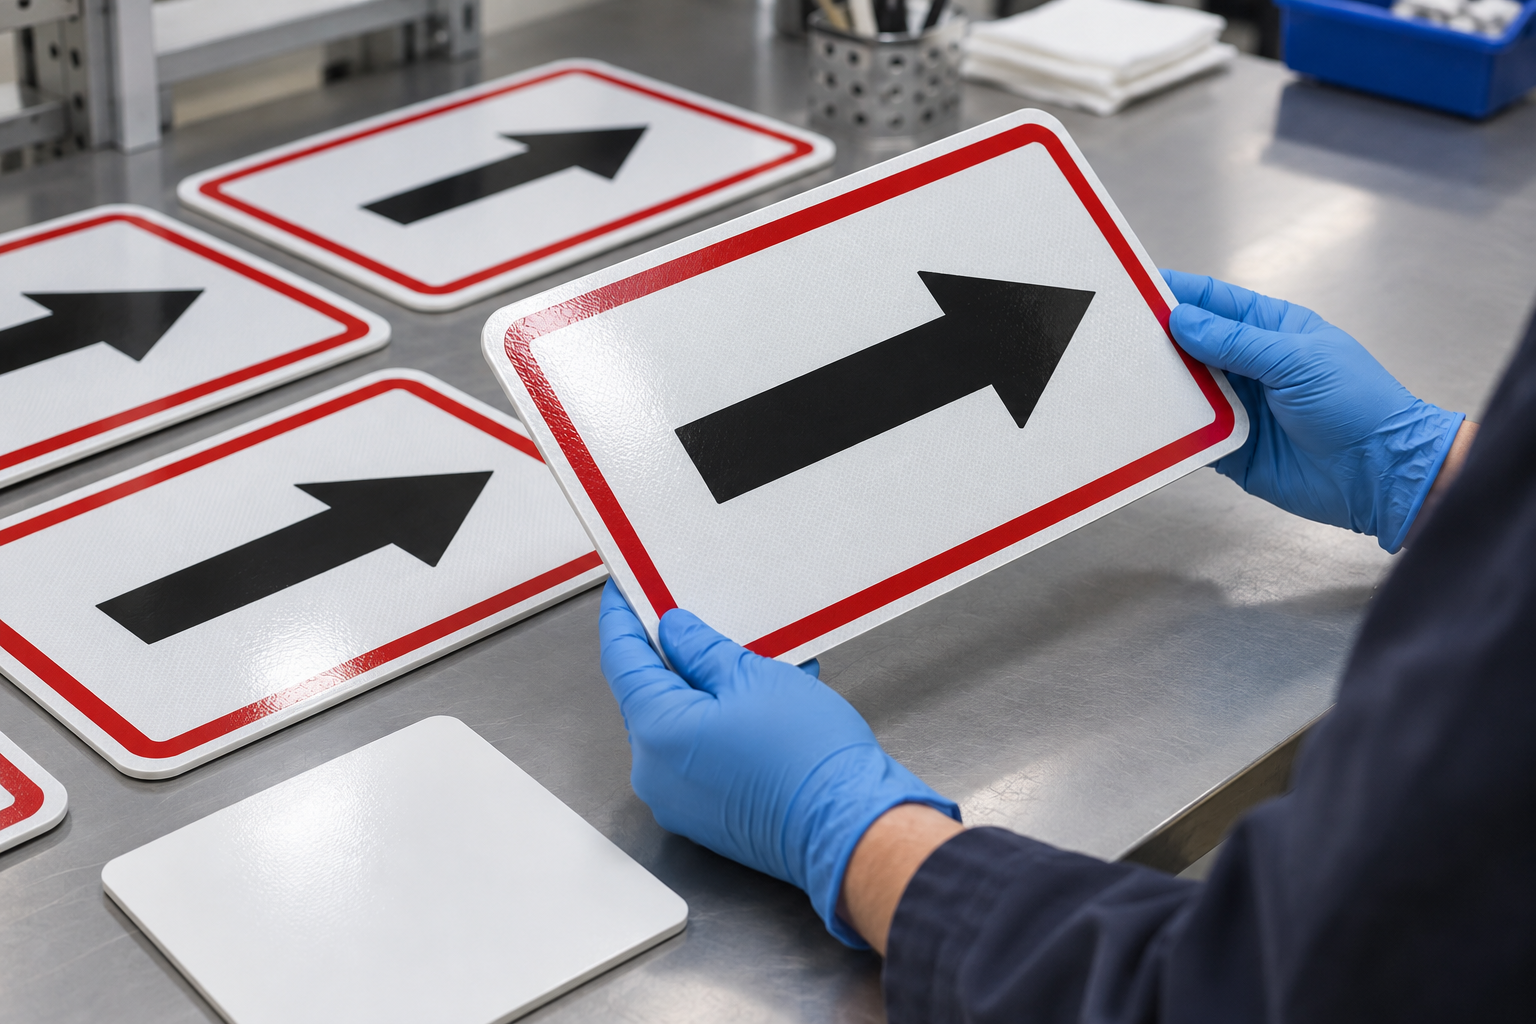
Create an agreed reference sample and retain its production record.
Approval item | What to confirm |
|---|---|
Material identity | Exact sheeting product, color and batch |
Ink identity | Ink series, colors and approved additives |
Screen specification | Mesh unit, thread diameter, tension and stencil |
Processing | Press settings and drying or curing record |
Appearance | Color, coverage, detail and registration |
Ink adhesion | Agreed method and acceptance result |
Optical performance | Finished-color RA at specified measurement geometry |
Handling and packaging | Blocking and relevant converting checks |
Durability | Application-relevant test evidence |
Recheck the process when the sheeting, ink, screen specification or curing equipment changes.
For a broader purchasing checklist, see how to test reflective sheeting quality before a bulk order.
Frequently Asked Questions
Can I Use Ordinary Screen Ink on Reflective Sheeting?
Only after the specific combination is approved and tested. A generic substrate label is insufficient to establish adhesion, durability or reflective performance.
Is 305 Mesh Always the Best Option?
No. Some specified systems use this mesh count, but it is not a universal recommendation. Confirm the unit, thread diameter and required screen construction.
Does Transparent Ink Preserve All the Original Brightness?
No. Transparent printed colors still affect optical performance. Test each finished color against its applicable requirement.
Can UV Screen Ink Be Used in a UV Inkjet Printer?
Do not treat these inks as interchangeable. Use the ink specified for the printing equipment and confirm its compatibility with the reflective sheeting.
Can I Stack Sheets as Soon as They Feel Dry?
Follow the specified drying or curing, cooling and conditioning procedure. Verify blocking performance before packaging.
Does Good Ink Adhesion Prove Outdoor Durability?
No. Initial adhesion is one check. Outdoor qualification also requires application-relevant evidence for color, reflectivity and material integrity after exposure.
Should Reflective Sheeting Be Tested Before or After Printing?
Both serve a purpose. Unprinted material provides a baseline, while the finished printed construction confirms whether the production process meets the application requirements.
Discuss Your Screen Printing Project with ABLAZE
For a product recommendation from Changzhou Zhenghe New Material Technology Co., Ltd., provide:
Intended application and target market.
Required reflective sheeting grade and color.
Ink brand, series and printing colors.
Mesh specification, including its unit.
Drying or UV-curing equipment.
Roll or sheet dimensions.
Estimated order quantity.
Finished-product acceptance requirements.
ABLAZE can discuss a suitable reflective sheeting candidate for evaluation using your production process. Confirming the material, ink and acceptance requirements at the sample stage helps establish a repeatable specification for bulk orders.
RELATED NEWS

Sun, Sand and a 50°C Container: Getting Reflective Sheeting Through a Hot Climate
In hot regions, reflective sheeting can start ageing before it reaches the sign shop. UV, heat, dust and humidity each attack a different part of the product, and each needs its own defence.Picture a distributor in a hot coastal city who receives a container of prismatic sheeting in midsummer. It si
